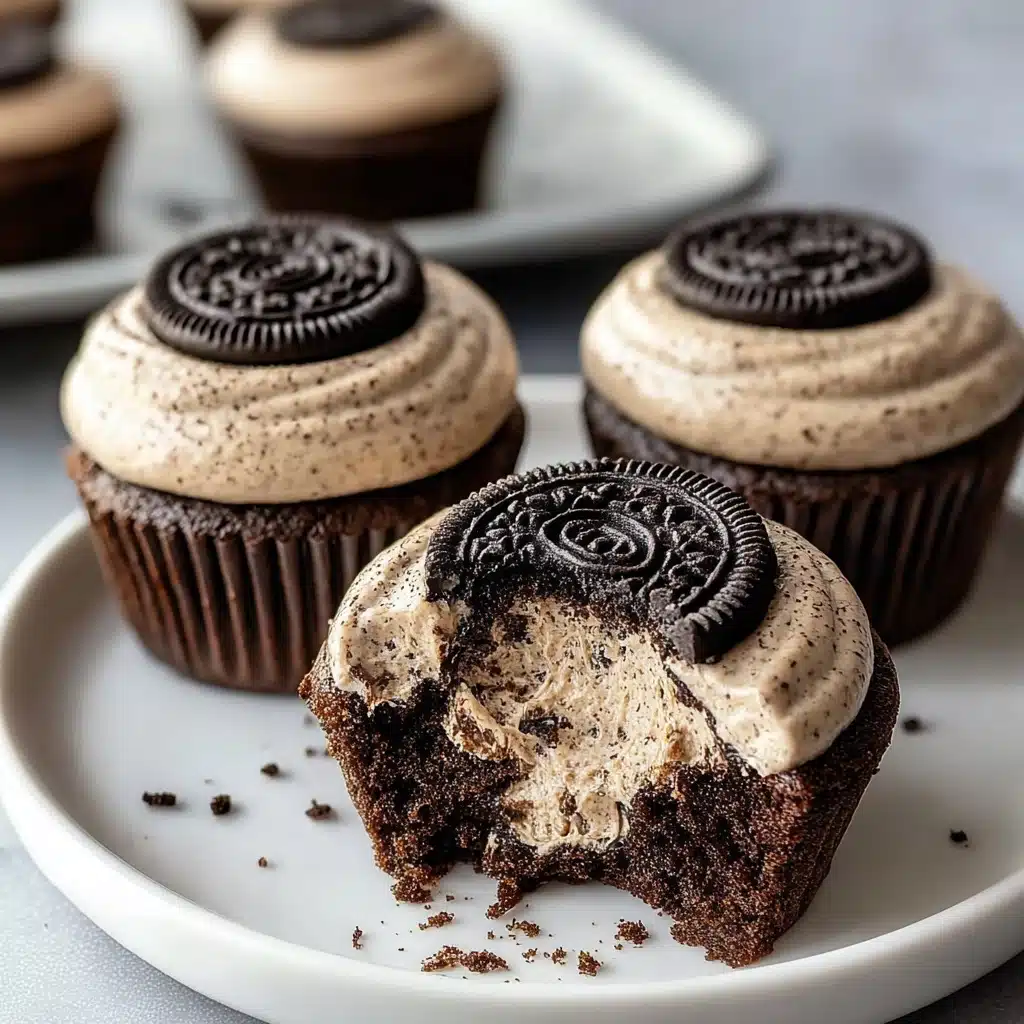
Oreo Cheesecake Cookie Cups Recipe
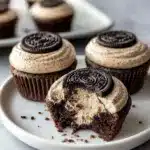
If you adore the combination of creamy cheesecake and crunchy cookies, you’re in for a real treat with these Oreo Cheesecake Cookie Cups. This delightful dessert takes the classic Oreo cookie, crumbles it into a rich crust, and fills each cup with a luscious, velvety cheesecake mixture that bakes to perfection. Topped with fluffy whipped cream and a sprinkle of extra cookie crumbs, these cups deliver an irresistible bite-sized indulgence that will quickly become a favorite for parties, family gatherings, or anytime you want a sweet little pick-me-up.
Ingredients You’ll Need
Gathering simple, well-loved ingredients is the key to nailing these Oreo Cheesecake Cookie Cups. Each ingredient brings something special—whether it is the crunchy texture of the Oreos, the creamy tang of cream cheese, or the lightness of whipped cream—to create a perfectly balanced dessert.
- Oreos, 20 cookies: These form the flavorful and crunchy base that sets the tone for the entire dessert.
- Unsalted butter, 5 tablespoons (melted): Helps bind the Oreo crumbs into a sturdy crust with a rich mouthfeel.
- Cream cheese, 8 ounces (softened): The heart of the cheesecake filling, providing creaminess and tang.
- Granulated sugar, 1/2 cup: Sweetens the filling perfectly without overpowering the other flavors.
- Sour cream, 1/4 cup: Adds a subtle tang and smooth texture to the cheesecake batter.
- Whipped cream, 1 cup (for topping): Gives the cups a light, airy finish that balances the richness underneath.
- Mini chocolate chips, 1/4 cup (optional): A fun addition to enhance gooey pockets of chocolate within the cheesecake.
How to Make Oreo Cheesecake Cookie Cups
Step 1: Prepare the Crust
Start by preheating your oven to 350°F (175°C). Then, crush 20 Oreo cookies into fine crumbs, either by placing them in a zip-top bag and smashing them with a rolling pin or pulsing them in a food processor. Mix those crumbs with the melted butter until the mixture feels like wet sand—this will help the crust hold together beautifully once baked.
Step 2: Form the Base
Line a muffin tin with cupcake liners for easy removal later. Press about one tablespoon of your Oreo mixture into the bottom of each liner, firmly packing it down to create a solid cookie crust. This foundation not only tastes amazing but also gives structure to the cheesecake filling.
Step 3: Make the Cheesecake Filling
In a mixing bowl, beat the softened cream cheese and granulated sugar together until the mixture is smooth and fluffy—this step ensures your filling will be light, not dense. Next, add sour cream to bring a gentle tang and creaminess. If you love a little extra chocolate, gently fold in mini chocolate chips for delightful bursts of gooeyness.
Step 4: Assemble and Bake
Spoon the cheesecake filling over each Oreo crust, spreading it nearly to the top but leaving a small gap for topping later. Bake for 15 to 18 minutes until the cheesecake is just set but still has a slight jiggle in the center. This jiggle guarantees that creamy texture we all crave. Let your Oreo Cheesecake Cookie Cups cool completely in the pan before transferring to the refrigerator to chill thoroughly.
Step 5: Add the Finishing Touches
Once chilled, crown each cup with a generous dollop of whipped cream to add a light and fluffy contrast to the rich cheesecake beneath. Sprinkle crushed Oreos on top for a playful crunch and an extra hint of chocolatey goodness that makes these cookie cups utterly irresistible.
How to Serve Oreo Cheesecake Cookie Cups
Garnishes
To dress up your Oreo Cheesecake Cookie Cups, add a sprinkle of crushed Oreos on top, or even a few mini chocolate chips. A drizzle of chocolate or caramel sauce can also elevate the presentation and flavor, making these cups look as decadent as they taste.
Side Dishes
These cookie cups are quite rich on their own, so pairing them with a light, refreshing side like fresh berries or a simple fruit salad helps balance the indulgence. A cup of strong coffee or a glass of cold milk also complements the creamy and chocolatey flavor perfectly.
Creative Ways to Present
Try serving the Oreo Cheesecake Cookie Cups on a decorative platter with colorful cupcake liners to brighten up your dessert table. You can also layer them in tall clear glasses for a parfait-style treat or arrange them with other bite-sized desserts to create a dessert sampler that will wow your guests.
Make Ahead and Storage
Storing Leftovers
Keep any leftover Oreo Cheesecake Cookie Cups stored in an airtight container in the refrigerator. They will stay fresh and creamy for up to 3 days, making them a perfect make-ahead dessert for busy days or unexpected guests.
Freezing
If you’d like to prepare these cookie cups well in advance, you can freeze them after baking and chilling. Place them in an airtight freezer-safe container with layers separated by parchment paper to prevent sticking. They can be frozen for up to one month without losing their texture or flavor.
Reheating
Since these are best served chilled, reheating isn’t necessary. If you prefer them slightly less cold, simply allow the cups to sit at room temperature for about 15 minutes before serving. This short wait softens the cheesecake filling perfectly for a melt-in-your-mouth experience.
FAQs
Can I use reduced-fat cream cheese for Oreo Cheesecake Cookie Cups?
While you can use reduced-fat cream cheese, it may affect the creaminess and texture of the filling slightly. For the best rich and smooth results, full-fat cream cheese is recommended.
What if I don’t have mini chocolate chips?
No worries! The mini chocolate chips add extra bursts of chocolate but are entirely optional. You can skip them or substitute with finely chopped chocolate or even white chocolate chips for a fun twist.
Can I make these Oreo Cheesecake Cookie Cups gluten-free?
To make this recipe gluten-free, use gluten-free sandwich cookies similar to Oreos and ensure all other ingredients are gluten-free certified. The rest of the process remains the same and still yields delicious results.
How long should I chill the cookie cups before serving?
Chilling the Oreo Cheesecake Cookie Cups for at least 2 hours is essential for the filling to set completely and develop the perfect texture. Overnight chilling is even better if you have the time.
Can I double this recipe for a larger batch?
Absolutely! Just double the amounts of each ingredient and use additional muffin tins to bake. This recipe scales up well, making it perfect for larger gatherings or holidays.
Final Thoughts
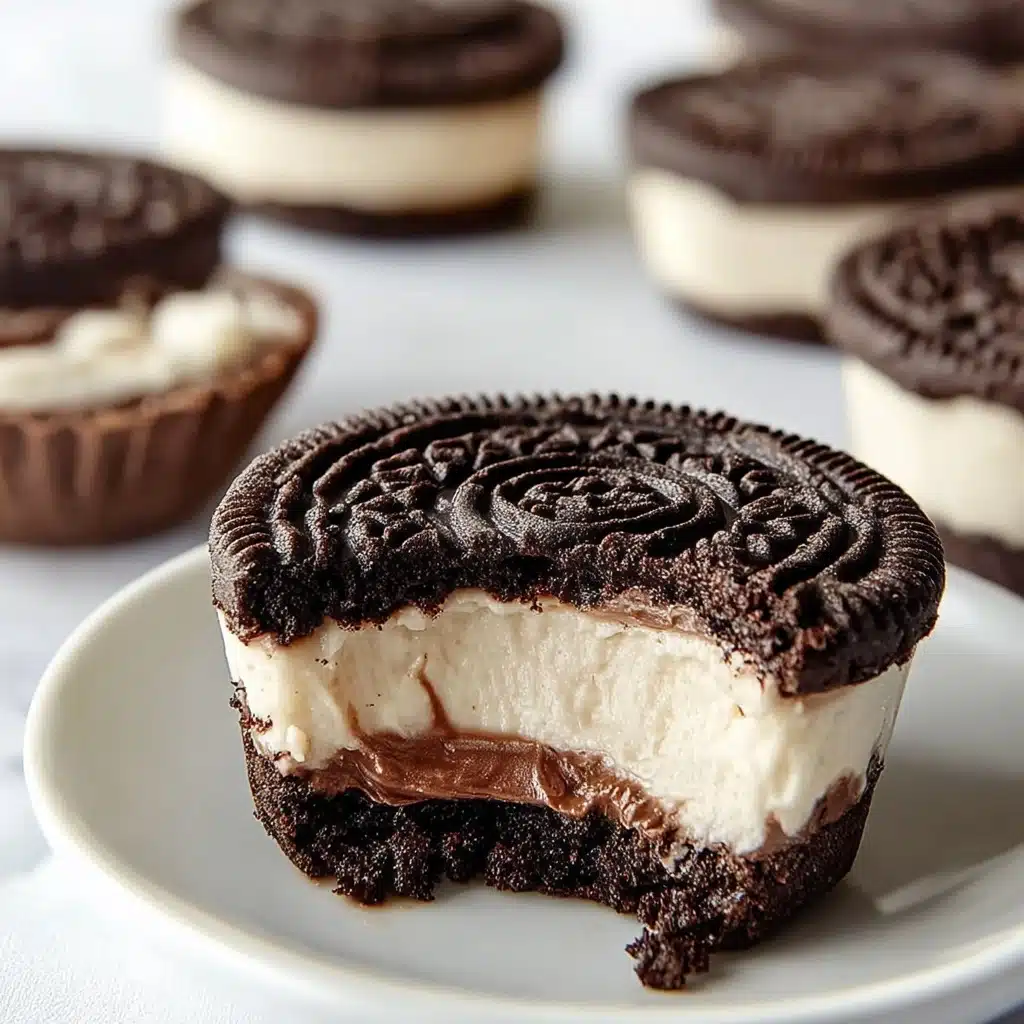
These Oreo Cheesecake Cookie Cups are a spectacular combination of two beloved desserts in one bite-sized marvel. From the buttery Oreo crust to the creamy cheesecake filling and the fluffy whipped cream topping, every element comes together so beautifully that you’ll find yourself reaching for seconds without hesitation. I encourage you to try making them for your next celebration or just a cozy night in—you’ll thank yourself for having these delightful treats on hand. Get ready for smiles and requests at every occasion!
PrintOreo Cheesecake Cookie Cups Recipe
Delight in these delicious Oreo Cheesecake Cookie Cups, combining a crunchy Oreo crust with a smooth, creamy cheesecake filling. Topped with fluffy whipped cream and extra Oreo crumbs, these bite-sized treats are perfect for any dessert occasion.
- Prep Time: 15 minutes
- Cook Time: 18 minutes
- Total Time: 2 hours 33 minutes
- Yield: 20 cookie cups 1x
- Category: Dessert
- Method: Baking
- Cuisine: American
- Diet: Vegetarian
Ingredients
Crust
- 20 Oreo cookies (for crust)
- 5 tbsp unsalted butter (melted)
Cheesecake Filling
- 8 oz cream cheese (softened)
- 1/2 cup granulated sugar
- 1/4 cup sour cream
- Optional: 1/4 cup mini chocolate chips
Topping
- 1 cup whipped cream (for topping)
- Additional crushed Oreos (for garnish)
Instructions
- Preheat Oven and Prepare Crust: Preheat your oven to 350°F (175°C). Crush the 20 Oreo cookies into fine crumbs using a food processor or by placing them in a sealed bag and crushing with a rolling pin. Mix the Oreo crumbs thoroughly with melted unsalted butter until evenly combined.
- Form Crust Bases: Line a muffin tin with cupcake liners. Press about one tablespoon of the Oreo mixture firmly into the bottom of each liner to create the crust base. Make sure to evenly distribute the crust among the liners.
- Make Cheesecake Filling: In a mixing bowl, beat the softened cream cheese with granulated sugar until light and fluffy. Add the sour cream and continue mixing until the mixture is smooth and well combined. If desired, gently fold in the mini chocolate chips for added texture and flavor.
- Fill and Bake: Spoon the cheesecake filling onto each Oreo crust base, filling the cups almost to the top. Bake in the preheated oven for 15 to 18 minutes, or until the centers are set but still slightly jiggly to the touch. Remove from oven and allow to cool completely in the tin.
- Chill and Decorate: Once cooled, refrigerate the cheesecake cups for at least 2 hours or until thoroughly chilled. Before serving, top each cup with a generous dollop of whipped cream and sprinkle additional crushed Oreos on top for garnish.
Notes
- Ensure cream cheese is fully softened before mixing to avoid lumps in the filling.
- Do not overbake; the centers should remain slightly jiggly to retain a creamy texture once chilled.
- Mini chocolate chips are optional but add a delightful chocolate crunch inside the filling.
- Refrigerate for at least 2 hours to let the cheesecake set properly before serving.
- These cheesecake cups are best served within 3 days and should be stored covered in the refrigerator.
Nutrition
- Serving Size: 1 cookie cup
- Calories: 190
- Sugar: 15g
- Sodium: 110mg
- Fat: 12g
- Saturated Fat: 7g
- Unsaturated Fat: 4g
- Trans Fat: 0g
- Carbohydrates: 18g
- Fiber: 1g
- Protein: 3g
- Cholesterol: 45mg
Keywords: Oreo cheesecake, cookie cups, bite-sized desserts, no-bake cheesecake cups, mini cheesecakes, easy dessert