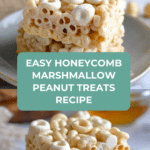
Honeycomb Marshmallow Treats Recipe
Introduction
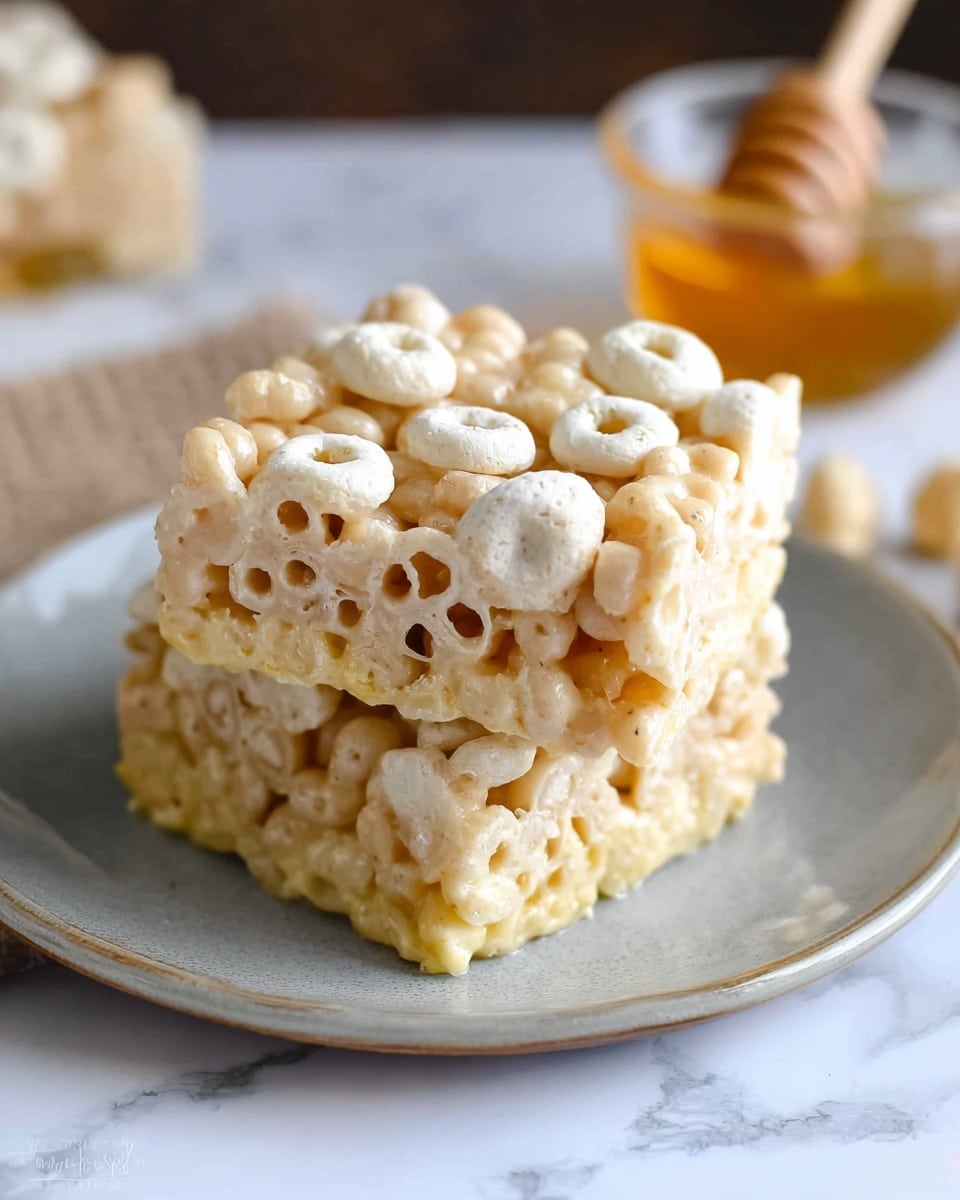
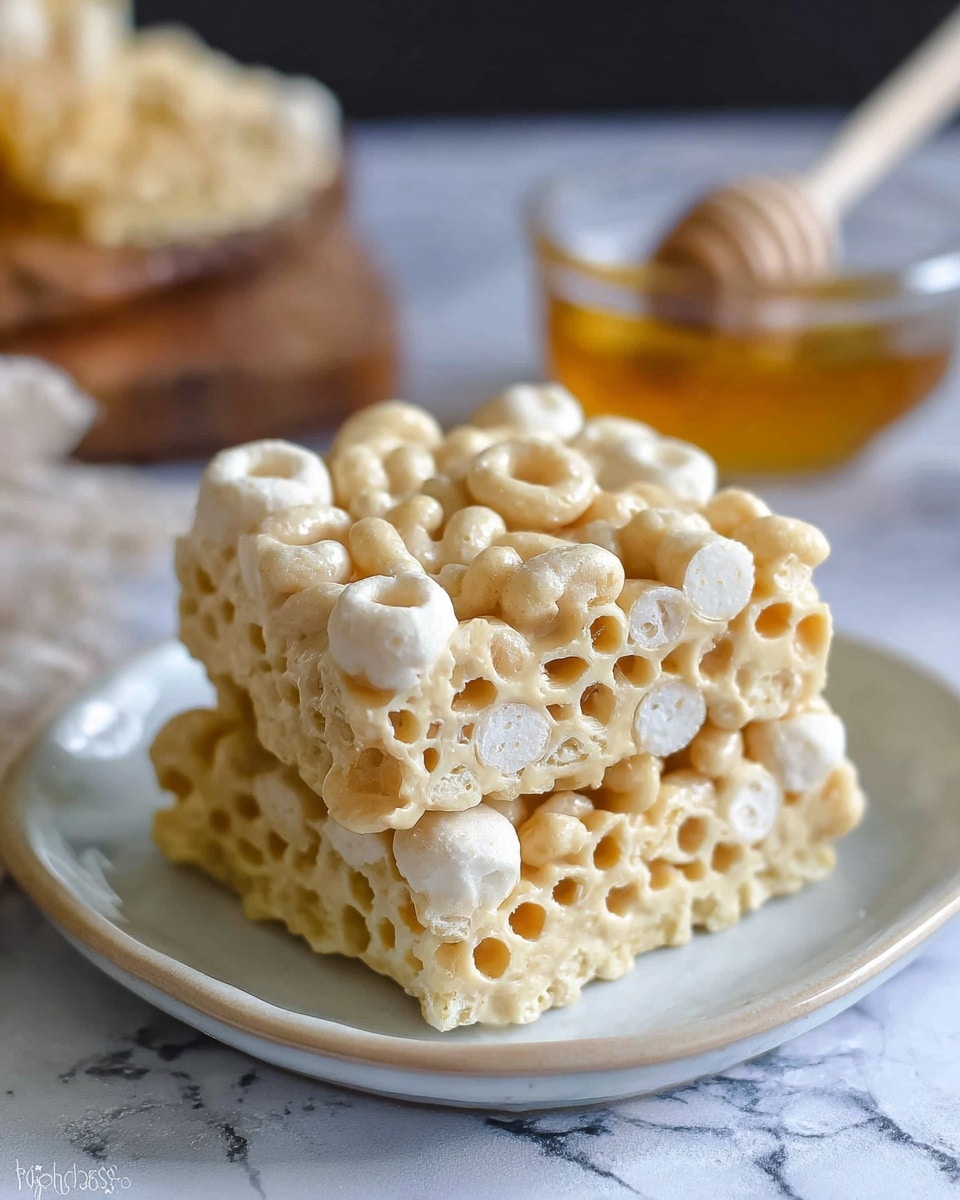
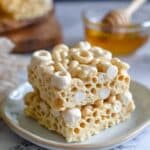
Honeycomb Marshmallow Treats are a delightful twist on the classic cereal treat, combining crunchy honeycomb cereal, sweet marshmallows, and salty roasted peanuts for a perfect balance of flavors. They are easy to make and perfect for snack time or sharing with friends and family.
Ingredients
- 4 1/2 cups Honeycomb Cereal
- 10-ounce bag mini marshmallows
- 1 cup roasted salted peanuts
- 1/4 cup unsalted butter
- 2 tablespoons honey (add more for stronger honey flavor)
Instructions
- Step 1: In a large saucepan, melt the butter over low heat, stirring occasionally to prevent burning.
- Step 2: Add the mini marshmallows to the melted butter and stir continuously until they are fully melted and smooth.
- Step 3: Stir in the roasted salted peanuts and honey until evenly combined with the melted marshmallow mixture.
- Step 4: Remove the saucepan from heat and quickly add the honeycomb cereal, stirring well to ensure all the cereal is coated.
- Step 5: Immediately press the mixture into an 8×8 inch baking pan lined with parchment paper or sprayed with non-stick spray, pressing firmly to create an even layer.
- Step 6: Let the mixture cool completely at room temperature until set.
- Step 7: Once cool, cut into squares and serve.
Tips & Variations
- For a nut-free version, omit the peanuts and add extra honeycomb cereal or substitute with sunflower seeds for crunch.
- Add a sprinkle of sea salt on top before pressing for a sweet and salty contrast.
- Use flavored marshmallows (like vanilla or strawberry) to introduce a unique twist.
- Press the mixture firmly into the pan using a piece of parchment paper to avoid sticking and achieve even thickness.
Storage
Store the treats in an airtight container at room temperature for up to 3 days to maintain freshness. For longer storage, keep them in the refrigerator in a sealed container for up to one week. To soften slightly after refrigerating, let them sit at room temperature for 10-15 minutes before serving.
How to Serve
Serve this delicious recipe with your favorite sides.
FAQs
Can I use a different type of cereal?
Yes, you can substitute honeycomb cereal with other crisp cereals like rice cereal or cornflakes, but the texture and flavor will vary slightly.
How do I prevent the marshmallow mixture from sticking to my hands when pressing?
Lightly grease your hands with butter or oil, or use a piece of parchment paper to press the mixture evenly into the pan without sticking.
PrintHoneycomb Marshmallow Treats Recipe
These Honeycomb Marshmallow Treats are a delightful twist on classic rice krispie treats, combining crunchy honeycomb cereal, mini marshmallows, roasted salted peanuts, and a hint of honey for natural sweetness. They are easy to make, chewy with a nutty crunch, and perfect for a quick snack or party treat.
- Prep Time: 10 minutes
- Cook Time: 10 minutes
- Total Time: 20 minutes
- Yield: 16 squares 1x
- Category: Snack
- Method: Stovetop
- Cuisine: American
Ingredients
Dry Ingredients
- 4 1/2 cups Honeycomb Cereal
- 10 ounce bag mini marshmallows
- 1 cup roasted salted peanuts
Wet Ingredients
- 1/4 cup unsalted butter
- 2 tablespoons honey (add more for stronger honey flavor)
Instructions
- Melt the Butter: In a large saucepan, melt the unsalted butter over low heat to avoid burning and ensure it melts evenly.
- Melt the Marshmallows: Stir in the mini marshmallows gradually into the melted butter, continuing to stir until the marshmallows are completely melted and smooth.
- Add Peanuts and Honey: Mix in the roasted salted peanuts and honey thoroughly to combine all flavors and ingredients evenly.
- Combine with Cereal: Add the honeycomb cereal to the pan and stir quickly and carefully to coat every piece evenly with the marshmallow mixture.
- Press into Pan: Immediately press the mixture into an 8×8 inch baking pan lined with parchment paper or sprayed with non-stick spray to prevent sticking and to shape the treats evenly.
- Cool and Set: Allow the mixture to cool and set completely at room temperature to become firm enough for cutting.
- Cut and Serve: Once cooled, cut the treats into squares or desired sizes and serve as a sweet crunchy snack.
Notes
- Use parchment paper or a non-stick spray in the pan to prevent sticking.
- Add more honey if you prefer a stronger honey flavor.
- Press the mixture firmly into the pan to ensure the treats hold together well.
- Allow the treats to cool completely before cutting to avoid crumbling.
- Store in an airtight container at room temperature for up to 3 days for freshness.
Keywords: Honeycomb Marshmallow Treats, Honeycomb Cereal Treats, Marshmallow Snack, Peanut Marshmallow Treats, Easy No-Bake Treats