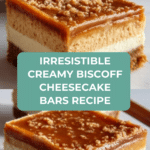
Creamy Biscoff Cheesecake Bars Recipe
Introduction
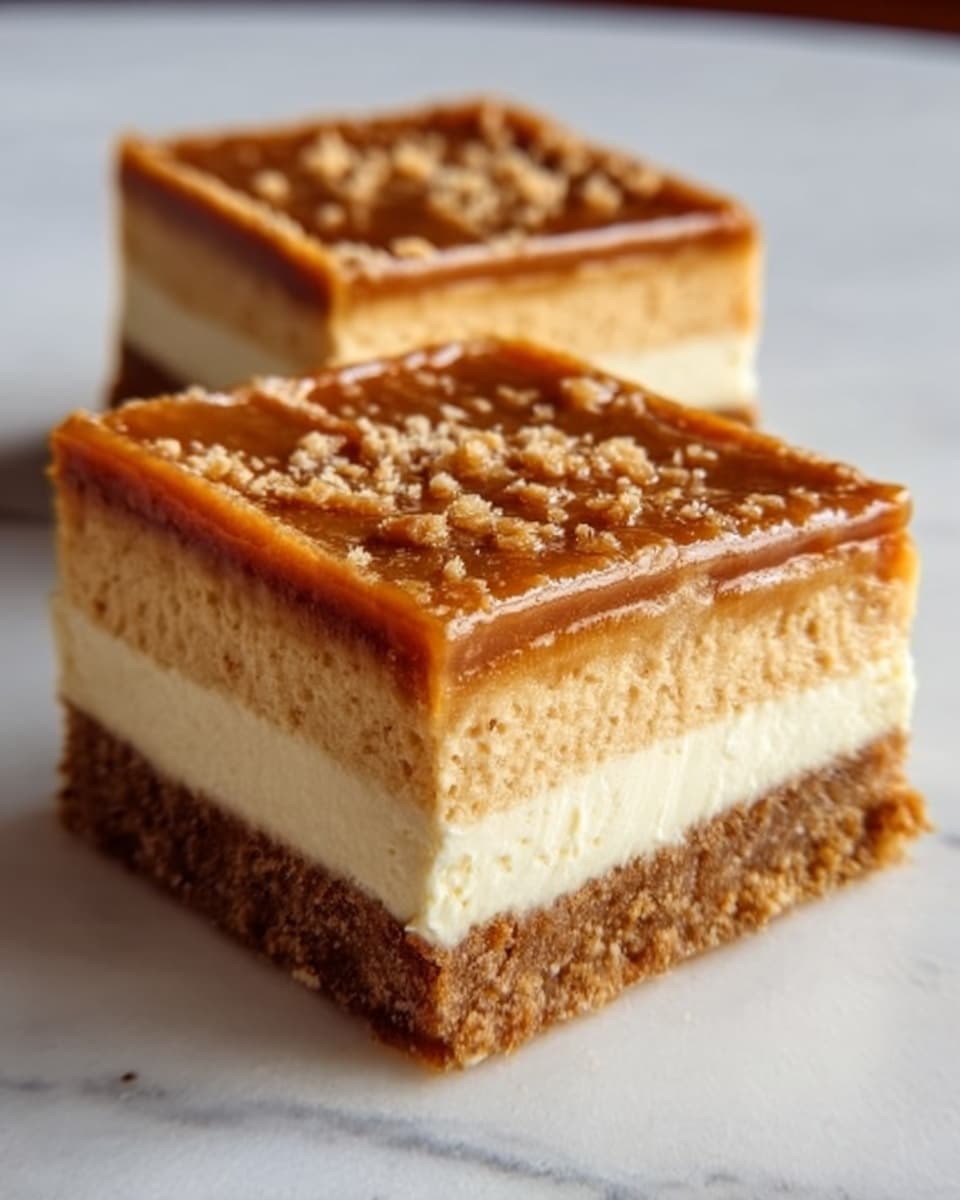
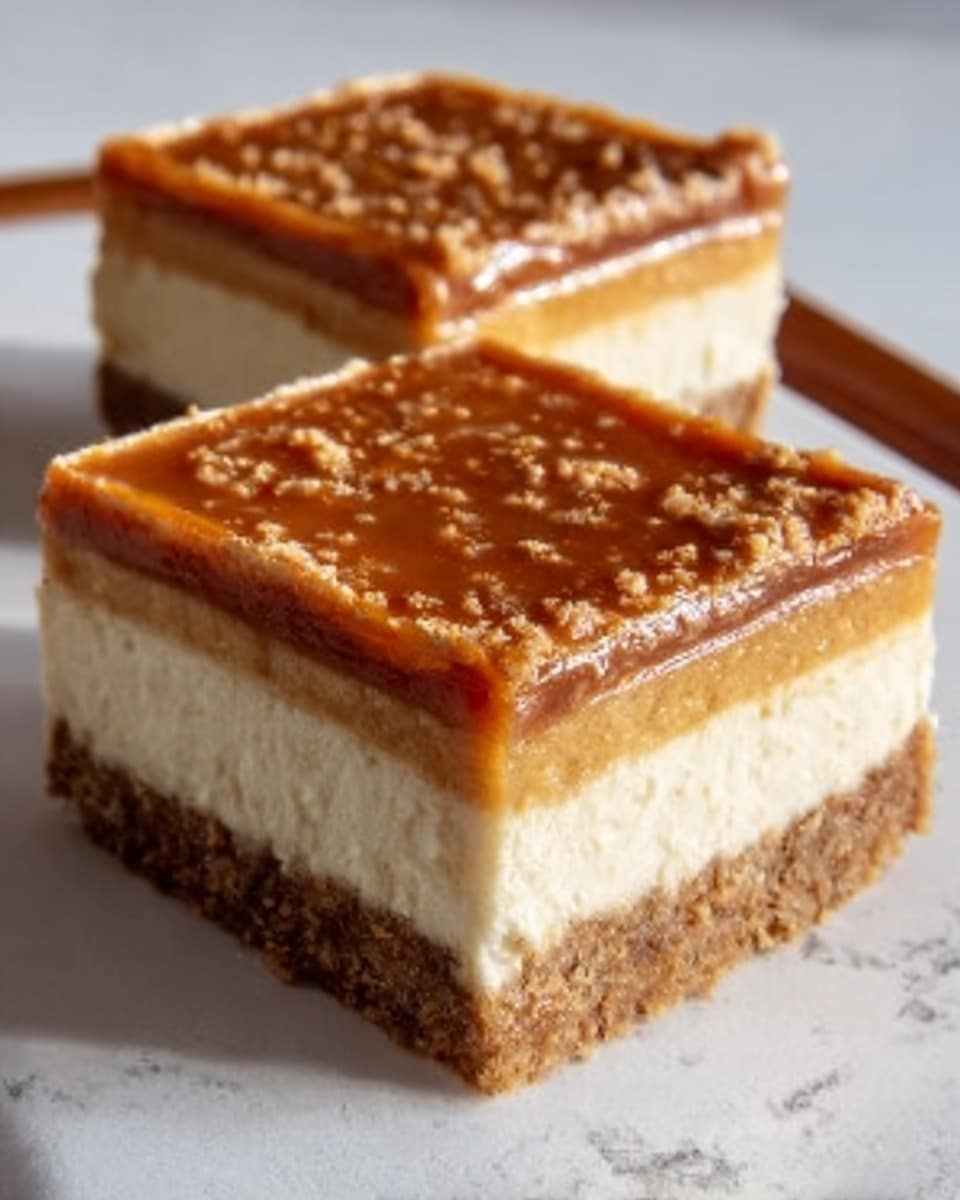
Creamy Biscoff Cheesecake Bars combine a crunchy, buttery cookie crust with a smooth, luscious cheesecake filling infused with the distinct caramelized flavor of Biscoff spread. This no-bake dessert is perfect for impressing guests or enjoying a rich treat at home with minimal effort.
Ingredients
- For the Buttery Biscoff Crust:
- 250g (about 8.8 oz or 1 standard pack) Lotus Biscoff Cookies
- 100g (7 tablespoons) Unsalted Butter, melted
- For the Creamy Cheesecake Filling:
- 680g (24 oz or three 8-oz blocks) Full-Fat Block Cream Cheese, softened to room temperature
- 200g (1 cup) Powdered Sugar, sifted
- 250g (1 cup) Creamy Biscoff Spread (Cookie Butter)
- 1 teaspoon Pure Vanilla Extract
- 240ml (1 cup) Cold Heavy Whipping Cream
- For the Luscious Biscoff Topping:
- 200g (¾ cup + 1 tablespoon) Creamy Biscoff Spread (Cookie Butter)
- Optional: Extra Biscoff Cookies, crushed, for garnish
Instructions
- Step 1: Prepare your 9×9 inch (23×23 cm) square baking pan by creating a parchment paper sling. Cut two long strips of parchment paper and lay one strip inside the pan, pressing it into the bottom and up the sides with overhangs on opposite ends. Place the second strip perpendicular to the first. Lightly grease the pan bottom before laying the parchment.
- Step 2: Pulse the Biscoff cookies in a food processor to fine crumbs. If unavailable, crush cookies in a sealed bag with a rolling pin until no large chunks remain. Transfer crumbs to a bowl, pour melted butter over them, and mix until the texture resembles wet sand.
- Step 3: Press the buttered cookie crumbs firmly and evenly into the bottom of the prepared pan using the flat bottom of a measuring cup or glass. Pay attention to edges and corners. Freeze for 15-20 minutes to firm up the crust.
- Step 4: Beat the softened cream cheese in a large bowl with an electric mixer at medium speed for 2-3 minutes until smooth and lump-free, scraping the bowl as needed.
- Step 5: Add sifted powdered sugar and vanilla extract to the cream cheese. Beat on low speed to blend, then medium speed until smooth. Mix in the 1 cup Biscoff spread and continue beating for 1-2 minutes until evenly incorporated. Set aside.
- Step 6: In a cold, clean bowl, whip the cold heavy cream on medium-high speed until stiff peaks form. Avoid over-whipping to prevent turning butter.
- Step 7: Fold one-third of the whipped cream gently into the cheesecake base using a rubber spatula with sweeping motions to lighten it. Fold in the remaining whipped cream carefully until no streaks remain, maintaining the airiness.
- Step 8: Remove the chilled crust from the freezer. Pour the cheesecake filling over it and spread evenly to all corners with an offset spatula or spoon back.
- Step 9: Melt the remaining Biscoff spread in a microwave-safe bowl in 15-second intervals, stirring in between until smooth and pourable. Pour over the filling and spread gently to cover the surface.
- Step 10: Cover loosely with plastic wrap or foil, avoiding contact with the surface. Refrigerate for at least 6-8 hours or overnight to allow the cheesecake to set fully.
- Step 11: When set, lift the cheesecake block out using the parchment overhangs. Using a large sharp knife dipped in hot water and wiped dry between cuts, slice into 16 squares. Garnish with crushed Biscoff cookies or whipped cream if desired before serving.
Tips & Variations
- Bring cream cheese to room temperature to avoid lumps; soften for at least 2-3 hours or use a warm water bath.
- Use a hot knife for neat slices by dipping it in hot water and drying it between cuts.
- Chill the bars thoroughly—6 hours minimum—to ensure they set properly and slice cleanly.
- Try swirling melted white chocolate with the Biscoff topping for a decorative marble effect.
- Substitute gluten-free cookies in the crust for a gluten-free version.
- Store bars in an airtight container refrigerated for up to 5 days; flavor improves after a day.
- Freeze sliced bars individually wrapped for up to 3 months; thaw in fridge before serving.
- Keep heavy cream and mixing equipment cold for the best whipped cream stability.
Storage
Store leftover cheesecake bars in an airtight container in the refrigerator for up to five days to maintain freshness. For longer storage, freeze individual slices wrapped in plastic wrap inside a freezer-safe bag for up to three months. Thaw frozen bars slowly in the refrigerator for a few hours before serving. Reheating is not recommended as it can affect texture.
How to Serve
Serve this delicious recipe with your favorite sides.
FAQs
Why are my cheesecake bars not firm?
The most common reason is insufficient chilling time. The cheesecake needs at least 6 hours, preferably overnight, to set fully. Also, using full-fat block cream cheese and heavy whipping cream is essential for structure; low-fat or whipped products will not firm up properly.
Can I use a different size pan for this recipe?
Yes. An 8×8 inch pan will produce thicker bars that may require longer chilling, while a 9×13 inch pan results in thinner bars that set more quickly. For larger pans, increase crust ingredients by about 25% to ensure full coverage.
PrintCreamy Biscoff Cheesecake Bars Recipe
These Creamy Biscoff Cheesecake Bars feature a crunchy, buttery Biscoff cookie crust topped with a velvety smooth, no-bake cheesecake filling infused with rich Biscoff spread. The luscious finishing layer of melted Biscoff spread adds intense flavor and a glossy look, creating a decadent dessert perfect for any occasion.
- Prep Time: 25 minutes
- Cook Time: 0 minutes
- Total Time: 7 hours 30 minutes
- Yield: 16 bars 1x
- Category: Dessert
- Method: No-Cook
- Cuisine: American
- Diet: Vegetarian
Ingredients
For the Buttery Biscoff Crust
- 250g (about 8.8 oz or 1 standard pack) Lotus Biscoff Cookies
- 100g (7 tablespoons) Unsalted Butter, melted
For the Creamy Cheesecake Filling
- 680g (24 oz or three 8-oz blocks) Full-Fat Block Cream Cheese, softened to room temperature
- 200g (1 cup) Powdered Sugar, sifted
- 250g (1 cup) Creamy Biscoff Spread (Cookie Butter)
- 1 teaspoon Pure Vanilla Extract
- 240ml (1 cup) Cold Heavy Whipping Cream
For the Luscious Biscoff Topping
- 200g (¾ cup + 1 tablespoon) Creamy Biscoff Spread (Cookie Butter)
- Optional: Extra Biscoff Cookies, crushed, for garnish
Instructions
- Prepare Your Baking Pan: Line a 9×9 inch square baking pan with two perpendicular strips of parchment paper to form an overhanging sling for easy removal. Lightly grease the pan bottom before placing the parchment.
- Create the Biscoff Crust: Process Biscoff cookies into fine crumbs using a food processor or crush them in a sealed bag. Transfer crumbs to a bowl, add melted unsalted butter, and mix thoroughly until crumbs are evenly moistened with a texture like wet sand.
- Press and Chill the Crust: Firmly press the buttered crumbs evenly into the pan’s bottom using a flat-bottomed cup or glass, ensuring solid coverage, especially at edges. Freeze for 15-20 minutes to set the crust before filling.
- Begin the Cheesecake Filling: Beat the softened cream cheese on medium speed using a hand or stand mixer until completely smooth and lump-free, scraping the bowl as needed.
- Flavor the Filling: Add sifted powdered sugar and vanilla extract to the cream cheese and beat on low then medium speed until fully combined. Mix in 1 cup of creamy Biscoff spread and blend until batter is uniform and pale caramel colored. Scrape down the bowl and set aside.
- Whip the Heavy Cream: In a chilled bowl with clean beaters, whip the cold heavy cream on medium-high speed until stiff peaks form. Be careful not to overwhip.
- Fold and Combine: Gently fold one-third of the whipped cream into the Biscoff cream cheese mixture to lighten it. Then fold in the remaining whipped cream carefully until no streaks remain, preserving the airiness of the filling.
- Assemble the Cheesecake Bars: Pour the cheesecake filling evenly over the chilled crust and smooth the surface with an offset spatula, pressing to reach the corners.
- Add the Topping and Chill: Microwave the remaining Biscoff spread in a microwave-safe bowl in 15-second increments, stirring until melted and pourable. Spread it over the cheesecake layer evenly.
- The Final, Crucial Chill: Cover loosely with plastic wrap or foil without touching the surface and refrigerate for at least 6-8 hours, preferably overnight, to allow the bars to fully set.
- Slice and Serve: Use the parchment overhang to lift the cheesecake from the pan. Dip a sharp knife in hot water, wipe dry, and cut into 16 squares, wiping the knife between cuts. Optionally garnish with crushed Biscoff cookies or whipped cream before serving.
Notes
- Use full-fat block cream cheese and cold heavy whipping cream with at least 35% milk fat for best results; avoid low-fat or whipped varieties.
- Bring cream cheese to room temperature for at least 2-3 hours to prevent lumps.
- Press crust firmly and chill adequately to avoid a crumbly or soggy base.
- Chilling for at least 6-8 hours or overnight is essential for a firm texture.
- Use a hot knife dipped in warm water and wiped dry between cuts for clean slices.
- The cheesecake bars store well in an airtight container for up to 5 days refrigerated, and they freeze well for up to 3 months when wrapped individually.
- For gluten-free adaptation, substitute Biscoff cookies with gluten-free speculoos-style cookies.
- To experiment, try marbling the topping with melted white chocolate or sprinkling crushed Biscoff cookies and cinnamon for texture variation.
Keywords: Biscoff cheesecake bars, no-bake cheesecake, Biscoff crust, creamy cheesecake, cookie butter dessert, easy cheesecake bars