Christmas Cherry Bars Recipe
Introduction
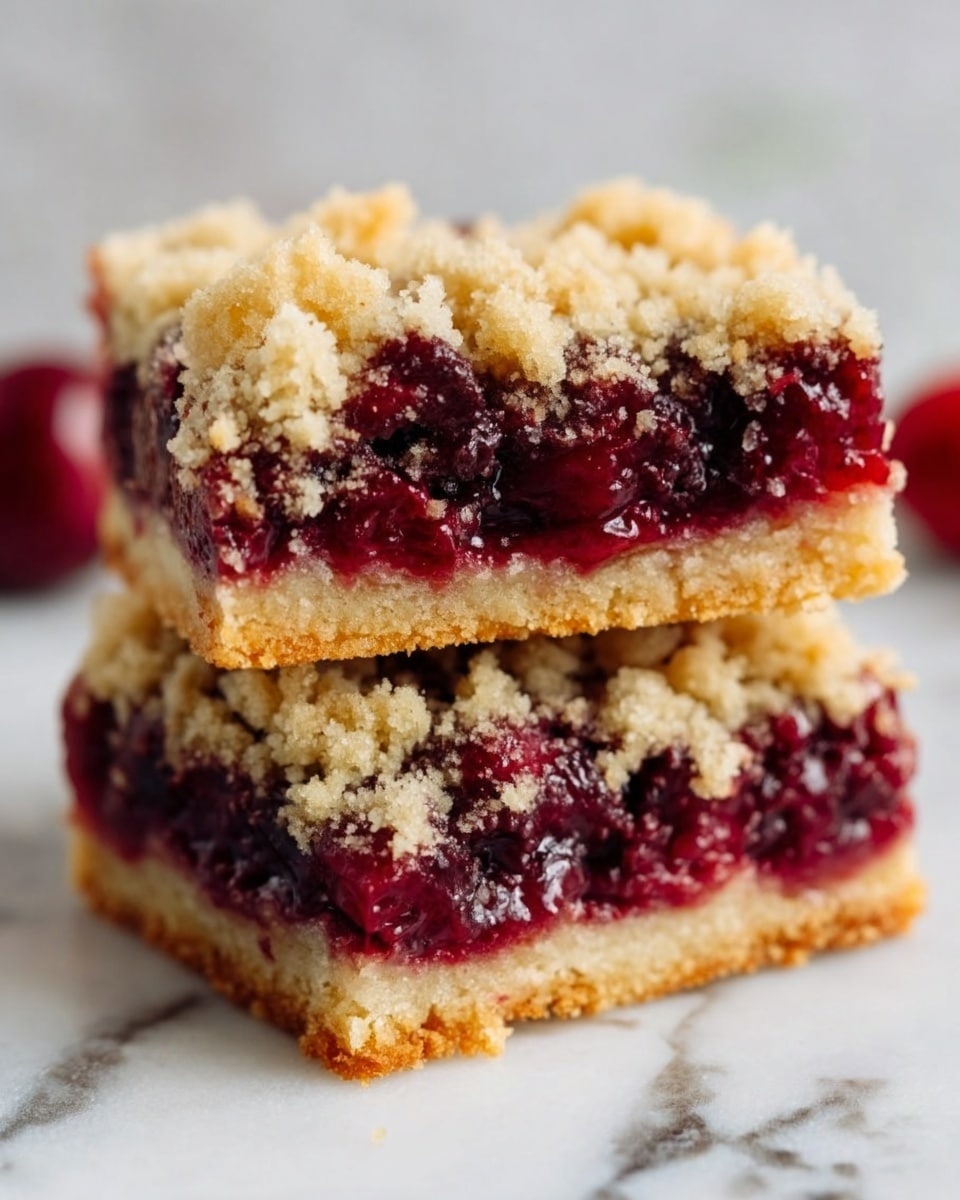
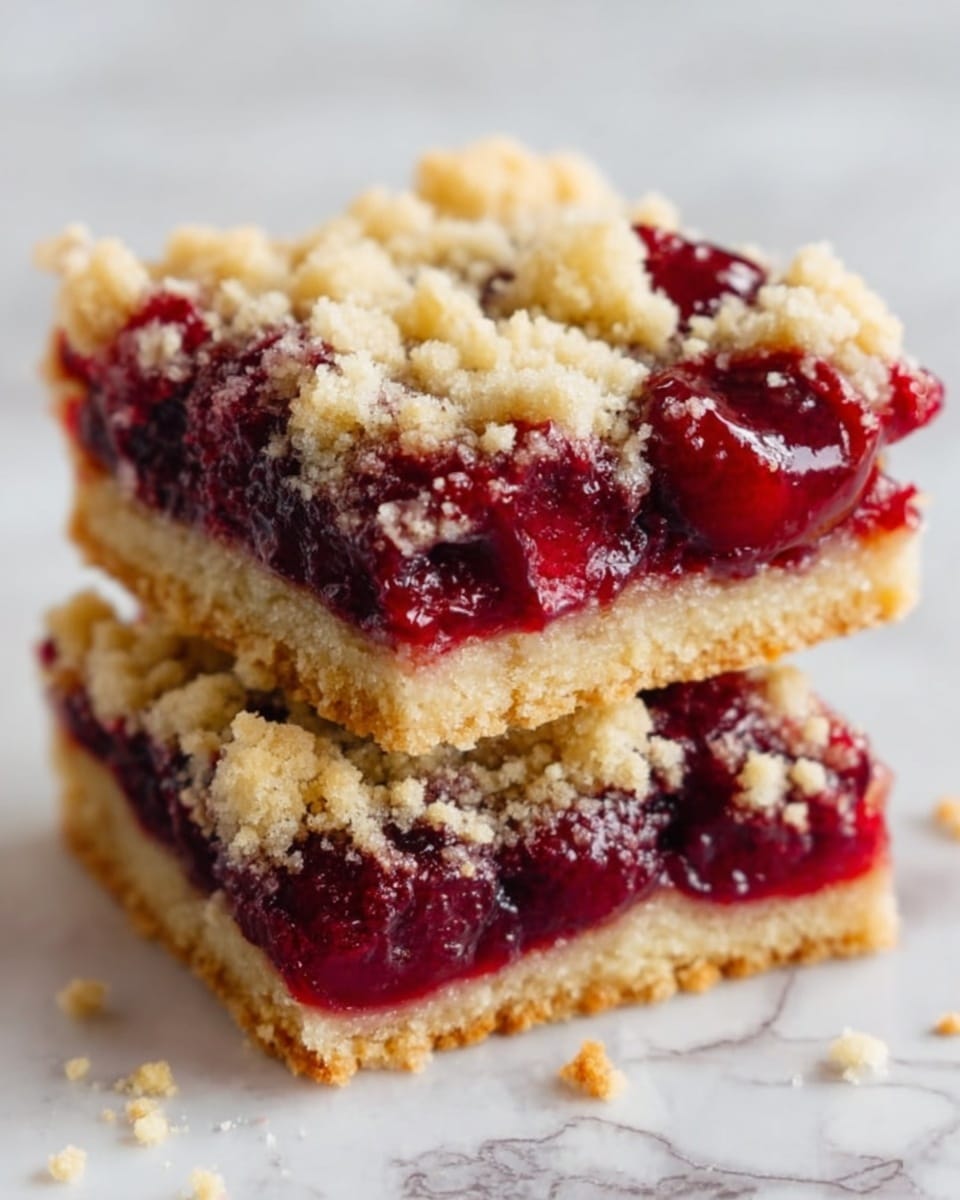
Christmas Cherry Bars are a delightful holiday treat featuring a buttery crumb crust layered with sweet and tangy cherry pie filling. These bars are easy to make and perfect for festive gatherings or a cozy winter dessert.
Ingredients
- ½ cup (1 stick) unsalted butter, melted and cooled
- ½ cup granulated sugar
- 1½ cups all-purpose flour
- ½ teaspoon baking soda
- ½ teaspoon baking powder
- ¼ teaspoon salt
- 2 cups cherry pie filling (homemade or store-bought)
- Optional: powdered sugar or melted white chocolate for garnish
Instructions
- Step 1: Preheat your oven to 375°F (190°C) and line an 8×8-inch baking pan with parchment paper.
- Step 2: In a large bowl, stir together the melted butter and sugar until smooth.
- Step 3: Add the flour, baking soda, baking powder, and salt to the butter mixture, stirring until the mixture becomes crumbly.
- Step 4: Reserve ¾ cup of the crumb mixture for the topping, then press the remaining crumbs evenly into the prepared pan to form the crust.
- Step 5: Spread the cherry pie filling evenly over the crust.
- Step 6: Sprinkle the reserved crumbs on top of the cherry filling.
- Step 7: Bake the bars for 23-25 minutes, or until the top is golden brown.
- Step 8: Allow the bars to cool completely before cutting into squares.
- Step 9: If desired, dust with powdered sugar or drizzle with melted white chocolate to garnish before serving.
Tips & Variations
- For cleaner slices, make sure the bars are completely cooled before cutting.
- Use a thick cherry pie filling to prevent a soggy crust.
- Try substituting cherry filling with other fruit pie fillings like blueberry or raspberry for a different flavor.
- Adding a sprinkle of chopped nuts such as almonds or pecans on top can add a pleasant crunch.
Storage
Store the cherry bars in an airtight container at room temperature for up to 3 days, or refrigerate for up to a week. To enjoy warm bars, reheat in the microwave for 15-20 seconds. These bars also freeze well—wrap tightly and freeze for up to 2 months; thaw overnight in the refrigerator before serving.
How to Serve
Serve this delicious recipe with your favorite sides.
FAQs
Can I make these bars gluten-free?
Yes, you can substitute the all-purpose flour with a gluten-free flour blend suitable for baking. Ensure the blend includes xanthan gum or add it separately to help maintain the texture.
Is it possible to use fresh cherries instead of pie filling?
Fresh cherries can be used, but they should be cooked down with sugar and a little cornstarch to thicken before layering, as fresh cherries alone may release too much liquid and make the crust soggy.
PrintChristmas Cherry Bars Recipe
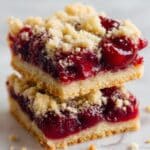
These Christmas Cherry Bars are a festive and delicious treat perfect for the holiday season. With a buttery crumb crust topped with a sweet and tangy cherry pie filling, these bars are easy to make and sure to satisfy your seasonal dessert cravings. Finished with an optional dusting of powdered sugar or a drizzle of white chocolate, they are perfect for sharing at holiday gatherings or enjoying as a cozy winter treat.
- Prep Time: 10 minutes
- Cook Time: 25 minutes
- Total Time: 35 minutes
- Yield: 16 bars 1x
- Category: Dessert
- Method: Baking
- Cuisine: American
Ingredients
Crust and Topping
- ½ cup (1 stick) unsalted butter, melted and cooled
- ½ cup granulated sugar
- 1½ cups all-purpose flour
- ½ teaspoon baking soda
- ½ teaspoon baking powder
- ¼ teaspoon salt
Filling
- 2 cups cherry pie filling (homemade or store-bought)
Optional Garnish
- Powdered sugar
- Melted white chocolate
Instructions
- Preheat Oven and Prepare Pan: Preheat your oven to 375°F (190°C). Line an 8×8-inch baking pan with parchment paper, ensuring some overhang to easily lift the bars after baking.
- Mix Wet Ingredients: In a large bowl, combine the melted and cooled butter with granulated sugar, stirring until the mixture is smooth and well blended.
- Add Dry Ingredients: Add the all-purpose flour, baking soda, baking powder, and salt to the butter-sugar mixture. Use a spoon or your hands to mix together until the mixture becomes crumbly.
- Reserve Topping Crumbs: Set aside ¾ cup of this crumb mixture for the topping. Press the remaining crumbs evenly into the prepared pan to form the crust layer.
- Spread Cherry Filling: Evenly spread the cherry pie filling over the pressed crust layer to create the fruity center of the bars.
- Add Crumb Topping: Sprinkle the reserved crumb mixture evenly over the cherry filling.
- Bake the Bars: Place the pan in the preheated oven and bake for 23 to 25 minutes, or until the top is golden brown and the filling is bubbly around the edges.
- Cool Completely: Remove the bars from the oven and allow them to cool completely in the pan. This helps them set and makes slicing easier for clean, neat bars.
- Garnish and Serve: Optionally dust the cooled bars with powdered sugar or drizzle melted white chocolate on top to add a festive touch before serving.
Notes
- Allow the bars to cool completely before slicing to achieve clean edges and prevent the filling from spilling out.
- Use a thick cherry pie filling to avoid the crust becoming soggy during baking.
- Line the baking pan with parchment paper for easy removal of bars after baking.
- These bars can be stored in an airtight container at room temperature for up to 3 days or refrigerated for up to a week.
Keywords: Christmas cherry bars, cherry dessert bars, holiday dessert, cherry crumb bars, easy holiday baking, festive cherry bars