Halloween Chocolate Chip Cookies Recipe
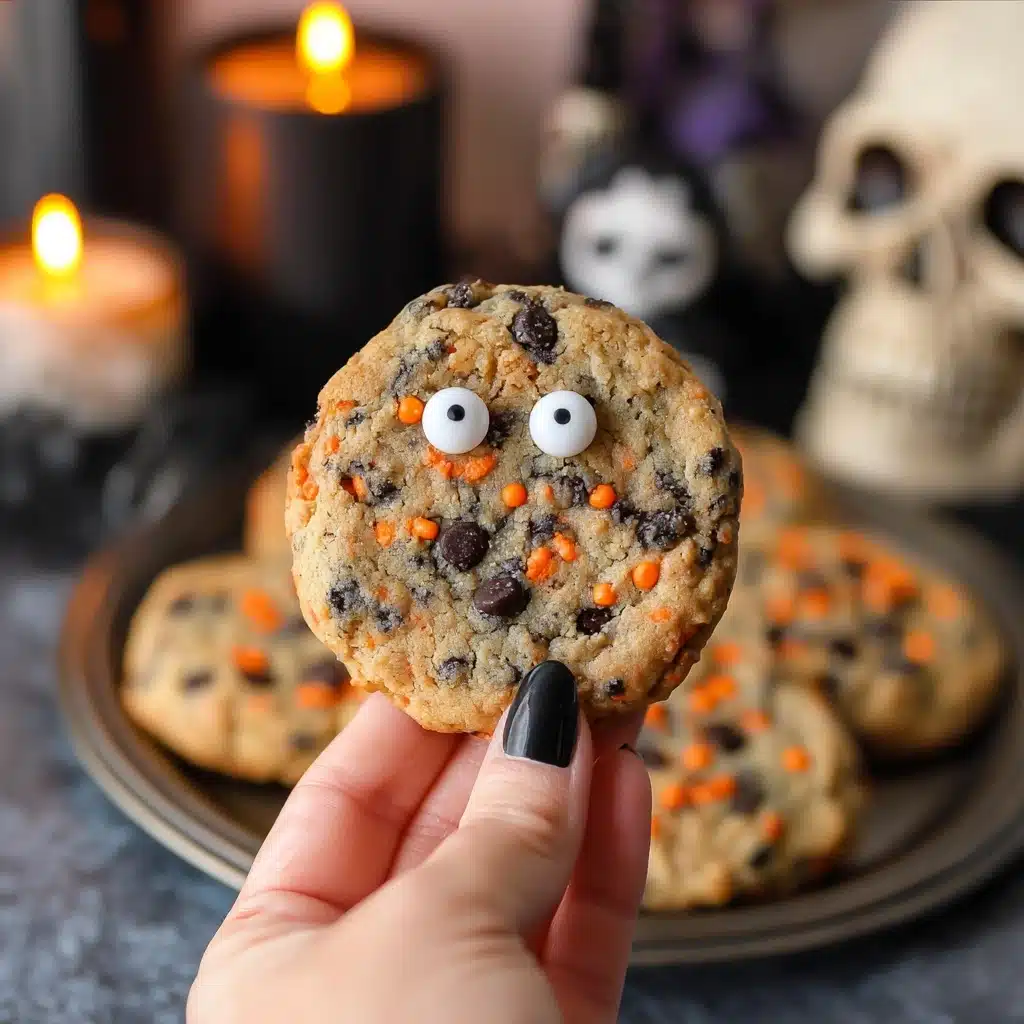
If you’re looking to make some festive and irresistibly tasty treats this season, these Halloween Chocolate Chip Cookies are an absolute must-try. Combining the classic comfort of soft, buttery chocolate chip cookies with a playful Halloween twist through sprinkles and optional candy eyes, this recipe promises a perfect balance of gooey chocolate, rich flavor, and festive fun. Whether you’re baking for a party, trick-or-treaters, or just a cozy night in, these cookies are guaranteed to bring smiles and a sprinkle of spooky sweetness.

Ingredients You’ll Need
This recipe uses simple, pantry-friendly ingredients that come together effortlessly, each bringing its own magic to the final cookie. From creamy butter lending richness, to a blend of sugars that create the perfect chewy-satisfying texture, and the fun bursts of chocolate chips and Halloween sprinkles that add both taste and color, every ingredient plays a starring role.
- Unsalted butter (1/2 cup, melted): Provides a smooth, rich base and helps achieve that soft cookie texture.
- Granulated sugar (1/3 cup): Adds sweetness and crisp edges to your cookies.
- Light brown sugar (1/2 cup, packed): Infuses moisture and a subtle caramel flavor for chewiness.
- Large egg (1): Binds all the ingredients together and contributes to a tender crumb.
- Vanilla extract (1 teaspoon): Enhances the overall flavor with warm, aromatic notes.
- Salt (1/2 teaspoon): Balances sweetness and deepens flavor complexity.
- Baking soda (1/2 teaspoon): Acts as a leavening agent, ensuring cookies rise and stay soft.
- All-purpose flour (1 1/2 cups, spooned and leveled): Forms the structure of the cookies for the perfect chew.
- Chocolate chips (1 1/2 cups): Classic melty pockets of chocolate throughout every bite.
- Halloween sprinkles (1/2 to 3/4 cup): Adds festive pops of color and a touch of crunch.
- Candy eyes (optional): Perfect for that spooky, playful look just straight off the oven.
How to Make Halloween Chocolate Chip Cookies
Step 1: Cream the Sugars and Butter
Start by combining your melted butter with both granulated and light brown sugars in a mixing bowl. Stir gently until the mixture is smooth and fully combined. This creamy, sugary base is the heart of your cookie dough’s soft texture.
Step 2: Add the Egg and Vanilla
Next, mix in the egg and vanilla extract. These not only help bind your dough but also bring warmth and richness to the flavor profile that makes each bite so comforting.
Step 3: Incorporate Dry Ingredients
Gradually add in your flour, salt, and baking soda to the wet mixture. Start mixing on low speed so the dry ingredients don’t fly everywhere, then increase to medium for about 15 to 30 seconds until just smooth. Remember, over-mixing can toughen your cookies, so stop once everything is nicely combined.
Step 4: Fold in Chocolate Chips and Sprinkles
Using a spatula or large spoon, gently fold your Halloween sprinkles and chocolate chips into the dough. This step spreads those delightful bursts of flavor and festive color throughout every cookie.
Step 5: Chill the Dough
Form your dough into 2-tablespoon balls and place them on a parchment-lined baking sheet. Since you’ll be chilling the dough first, don’t worry about spacing concerns here. Cover the sheet with plastic wrap and refrigerate for at least 1.5 to 2 hours, or up to 24 hours for more pronounced flavors.
Step 6: Bake Your Cookies
When ready, preheat your oven to 350°F. Arrange the chilled dough balls about two inches apart on a baking sheet lined with parchment paper or a silicone mat. Bake for 11 to 13 minutes until the edges turn a lovely golden shade—this is when the cookies are perfectly done.
Step 7: Add Candy Eyes and Cool
If you want to add that spooky touch, place candy eyes on the cookies while they are still warm from the oven, gently pressing them in so they stick. Finally, allow your Halloween Chocolate Chip Cookies to cool on a wire rack before enjoying.
How to Serve Halloween Chocolate Chip Cookies
Garnishes
A sprinkle of additional Halloween sprinkles or a few colorful drizzles of white chocolate can instantly elevate the festive look of these cookies. For a spooky vibe, candy eyes add character and charm that kids and adults alike will adore.
Side Dishes
Serve these cookies alongside a cold glass of milk or a warm mug of spiced pumpkin latte to create an indulgent snack or dessert. They also pair beautifully with a scoop of vanilla ice cream for an extra special treat during Halloween get-togethers.
Creative Ways to Present
Try arranging your Halloween Chocolate Chip Cookies on a tiered platter decorated with faux cobwebs and mini pumpkins for a party-ready centerpiece. Wrapping individual cookies in clear bags tied with orange and black ribbons makes charming party favors or classroom treats.
Make Ahead and Storage
Storing Leftovers
Store your leftover cookies in an airtight container at room temperature for up to 4 days. This keeps them soft and chewy without drying out, so they remain just as delicious as the day you baked them.
Freezing
Halloween Chocolate Chip Cookies freeze wonderfully. Make sure they cool completely, then freeze in a single layer on a baking sheet before transferring to a sealed freezer bag. When vacuum-sealed or tightly wrapped, they can stay fresh for up to 3 months.
Reheating
To refresh the soft texture after freezing, gently warm the cookies in a 300°F oven for 5 to 7 minutes or microwave a single cookie for about 10 seconds. This little trick melts the chocolate chips again and brings the cookies back to life.
FAQs
Can I substitute the chocolate chips for another type of chocolate?
Absolutely! Feel free to swap chocolate chips with chunks of dark, milk, or white chocolate based on your preference. You can even mix them for extra variety and texture in your Halloween Chocolate Chip Cookies.
What if I don’t have Halloween sprinkles? Can I leave them out?
You can definitely leave out the sprinkles if you don’t have any on hand. Your cookies will still taste amazing, just without that colorful festive flair. Try adding chopped nuts or mini candies as fun alternatives.
How important is chilling the dough before baking?
Chilling the dough firms it up, which helps prevent spreading so your cookies turn out thicker and chewier. It also allows flavors to meld for a more pronounced taste. It’s a small step that makes a big difference!
Can I make these cookies gluten-free?
Using a gluten-free all-purpose flour blend in place of regular flour usually works well, but be sure to check your mix’s instructions. The texture may vary slightly but the festive flavor and fun won’t be compromised.
How do I keep the candy eyes from melting or falling off?
Adding candy eyes right after baking while the cookies are warm lets them gently stick without melting excessively. Avoid placing them before baking to maintain their shape and cute appearance.
Final Thoughts
There is something truly special about baking Halloween Chocolate Chip Cookies that brings joy and warmth to the season. From the ease of making the dough to the delightful decorations and that first bite of melty chocolate, it’s a recipe designed to brighten your celebrations. So grab your ingredients, get your oven ready, and treat yourself and your loved ones to these festive and delicious cookies. Happy baking!
PrintHalloween Chocolate Chip Cookies Recipe

Delight in these festive Halloween Chocolate Chip Cookies, a perfect blend of classic cookie dough, rich chocolate chips, and vibrant Halloween sprinkles. Soft, chewy, and adorned with optional candy eyes, these cookies offer a fun and spooky treat ideal for Halloween celebrations.
- Prep Time: 15 minutes
- Cook Time: 13 minutes
- Total Time: 1 hour 30 minutes to 2 hours 28 minutes (including chilling time)
- Yield: 24 cookies 1x
- Category: Dessert
- Method: Baking
- Cuisine: American
- Diet: Vegetarian
Ingredients
Wet Ingredients
- 1/2 cup unsalted butter (melted)
- 1/3 cup granulated sugar (67 g)
- 1/2 cup packed light brown sugar (100 g)
- 1 large egg
- 1 teaspoon vanilla extract
Dry Ingredients
- 1 1/2 cups all-purpose flour (spooned and leveled, 186 g)
- 1/2 teaspoon salt
- 1/2 teaspoon baking soda
Add-ins
- 1 1/2 cups chocolate chips
- 1/2 to 3/4 cup Halloween sprinkles
- Candy eyes (optional)
Instructions
- Combine Wet Ingredients: In a mixing bowl, add the melted butter, light brown sugar, and granulated sugar. Mix until the mixture is smooth and fully combined, ensuring no grainy texture remains.
- Add Egg and Vanilla: Incorporate the vanilla extract and egg into the sugar-butter mixture. Stir continually until well blended and uniform in consistency.
- Mix Dry Ingredients: Gradually add the all-purpose flour, salt, and baking soda to the wet mixture. Begin mixing on low speed until the ingredients start to incorporate. Increase the mixer speed slightly and continue mixing for an additional 15 to 30 seconds, scraping the sides to ensure thorough blending. Be careful not to over-mix; the dough should be just combined.
- Fold in Add-ins: Using a spatula or large spoon, gently fold in the Halloween sprinkles and chocolate chips evenly throughout the dough to maintain the cookie’s texture and appearance.
- Portion Dough: Scoop the dough into 2-tablespoon sized balls and place them on a baking sheet lined with parchment paper. Spacing is not critical at this stage since the dough will be chilled.
- Chill Dough: Cover the dough balls with plastic wrap and refrigerate for 1.5 to 2 hours, or up to 24 hours, to allow the dough to firm up, enhancing the cookie’s texture during baking.
- Preheat Oven: When ready to bake, preheat your oven to 350°F (175°C) to prepare for baking the cookies.
- Arrange Dough for Baking: Place the chilled dough balls onto a parchment-lined or silicone mat-covered baking sheet, spacing them about 2 inches apart to allow for spreading.
- Bake Cookies: Bake in the preheated oven for 11 to 13 minutes or until the cookie edges turn golden brown, signaling they are fully baked.
- Add Candy Eyes: If using, immediately place the candy eyes onto the warm cookies right after removing them from the oven so they adhere properly.
- Cool and Serve: Let the cookies cool on the baking sheet or a wire rack before serving to ensure they set properly and maintain their shape. Enjoy your festive Halloween treat!
Notes
- Chilling the dough is essential for preventing cookies from spreading too much and helps enhance the flavors.
- Do not over-mix the dough to avoid tough cookies; mix just until ingredients are combined.
- The optional candy eyes add a spooky Halloween touch; you can skip or replace them according to preference.
- Store baked cookies in an airtight container at room temperature for up to 5 days to maintain freshness.
- For a gluten-free version, substitute all-purpose flour with a gluten-free flour blend.
Nutrition
- Serving Size: 1 cookie
- Calories: 150
- Sugar: 12 g
- Sodium: 110 mg
- Fat: 8 g
- Saturated Fat: 4.5 g
- Unsaturated Fat: 3 g
- Trans Fat: 0 g
- Carbohydrates: 19 g
- Fiber: 1 g
- Protein: 2 g
- Cholesterol: 25 mg
Keywords: Halloween cookies, chocolate chip cookies, festive cookies, spooky treats, Halloween baking