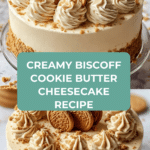
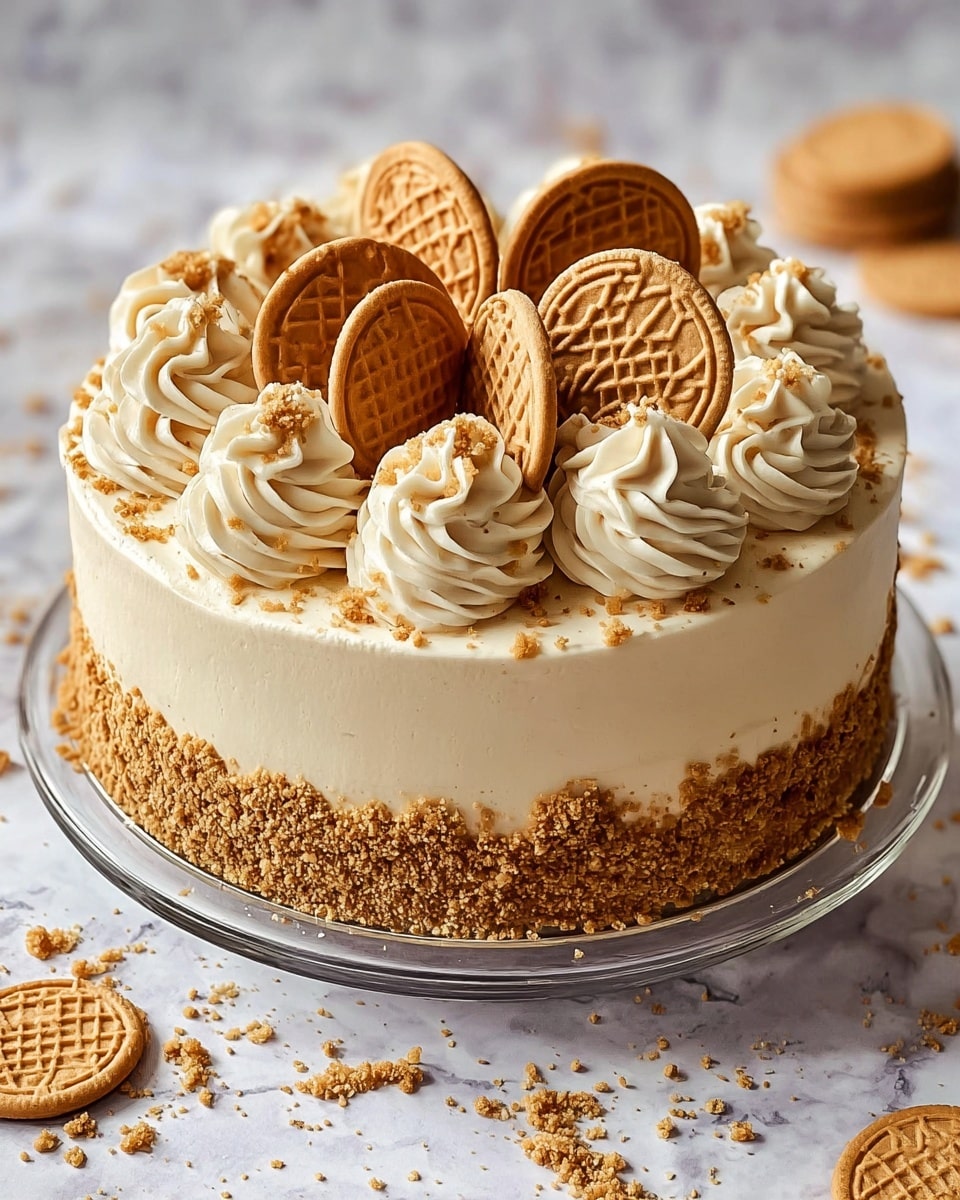
Biscoff Cookie Butter Cheesecake Recipe
Introduction
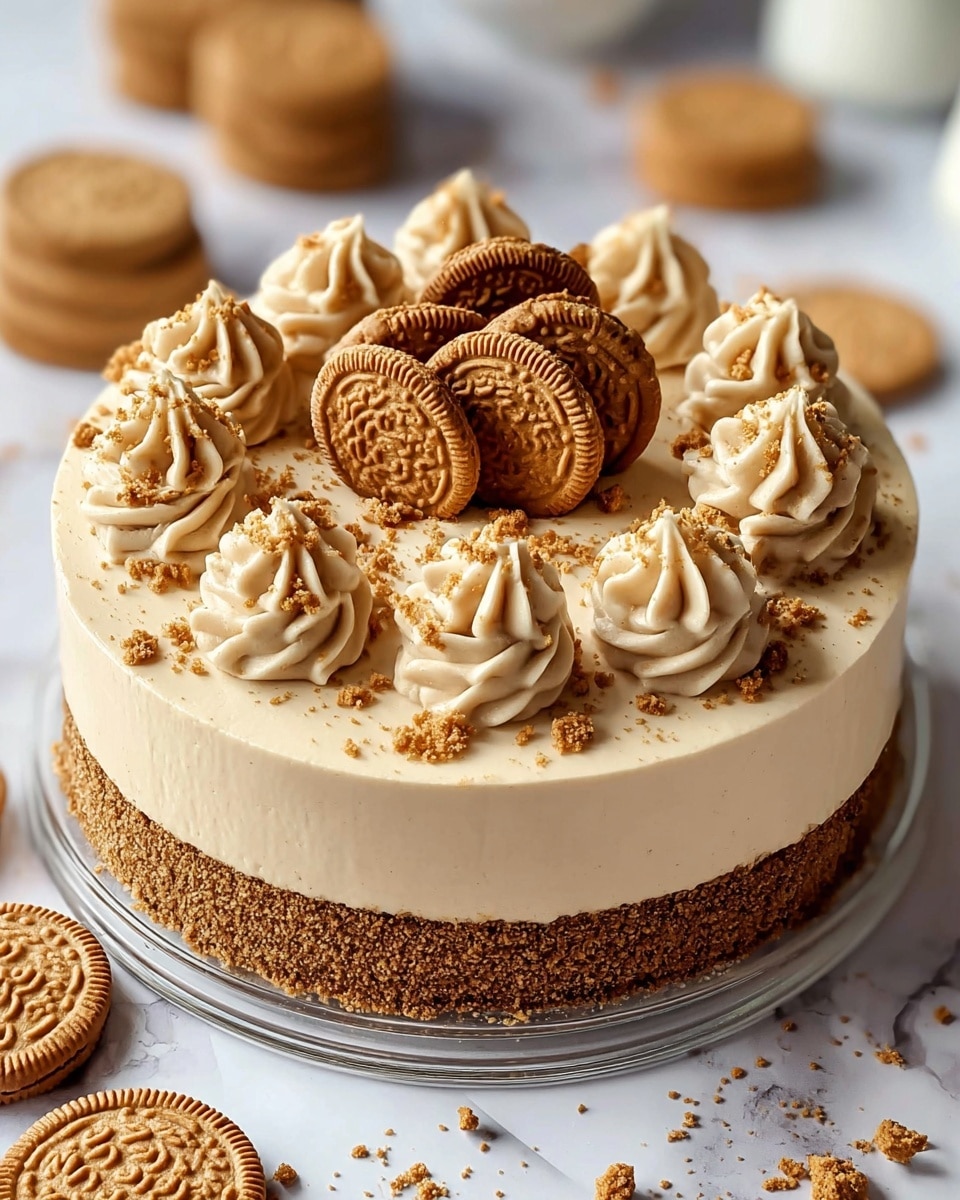
Biscoff Cookie Butter Cheesecake is a delightful treat that perfectly blends creamy cheesecake with the rich, spiced flavor of Biscoff cookies and cookie butter. This dessert offers a crisp cookie crust, a smooth, luscious filling, and a luscious topping that’s sure to impress family and guests alike.
Ingredients
- 2 cups Biscoff cookies, crushed (for crust)
- 6 tablespoons melted butter
- 3 (8 oz) packages cream cheese, softened
- 1 cup granulated sugar
- 1 cup Biscoff cookie butter
- 3 large eggs
- 1 teaspoon vanilla extract
- 1/2 cup sour cream
- 1/4 teaspoon salt
- Extra cookie crumbs and melted cookie butter (for topping)
Instructions
- Step 1: Preheat the oven to 325°F (163°C). Line a springform pan with parchment paper for easy removal.
- Step 2: In a bowl, combine the crushed Biscoff cookies and melted butter. Press this mixture firmly into the bottom of the prepared pan. Bake for 8 minutes, then remove and let cool.
- Step 3: In a large mixing bowl, beat the softened cream cheese and sugar together until smooth and creamy.
- Step 4: Add the Biscoff cookie butter to the cream cheese mixture and blend until fully incorporated.
- Step 5: Beat in the eggs one at a time, ensuring each is fully mixed before adding the next.
- Step 6: Mix in the vanilla extract, sour cream, and salt until the batter is smooth.
- Step 7: Pour the cheesecake batter over the cooled crust, smoothing the top evenly.
- Step 8: Bake the cheesecake for 50–60 minutes, or until the center is slightly jiggly but the edges are set.
- Step 9: Turn off the oven, crack the door open, and let the cheesecake cool inside for 1 hour to prevent cracking.
- Step 10: Chill the cheesecake in the refrigerator for at least 4 hours or overnight for best texture and flavor.
- Step 11: Before serving, drizzle melted cookie butter over the top and sprinkle with extra crushed cookie crumbs for garnish.
Tips & Variations
- Use room-temperature cream cheese and eggs to achieve a smoother batter and avoid lumps.
- For a gluten-free option, substitute regular Biscoff cookies with a gluten-free version available in most stores.
- Try adding a swirl of chocolate ganache or caramel sauce for an extra indulgent twist.
- To prevent cracks, bake the cheesecake in a water bath or place a pan of hot water in the oven while baking.
- Swap sour cream with Greek yogurt for a lighter, tangier cheesecake.
Storage
Store the cheesecake covered in the refrigerator for up to 4 days. For longer storage, wrap tightly and freeze for up to 2 months. When ready to serve, thaw overnight in the refrigerator. Reheat to room temperature for best flavor, but avoid warming in the microwave as it can affect texture.
How to Serve
Serve this delicious recipe with your favorite sides.
FAQs
Can I make this cheesecake without a springform pan?
While a springform pan is ideal for easy removal, you can use a regular cake pan lined well with parchment paper. Just be careful when unmolding, as it may be more delicate.
Is it possible to make this cheesecake dairy-free?
Yes, you can substitute the cream cheese and sour cream with dairy-free alternatives like vegan cream cheese and coconut yogurt. Make sure to check that your cookie butter is also dairy-free.
PrintBiscoff Cookie Butter Cheesecake Recipe
Biscoff Cookie Butter Cheesecake is a decadent dessert that combines the rich, creamy texture of classic cheesecake with the unique caramel and spice flavors of Biscoff cookie butter. Featuring a crisp crust made from crushed Biscoff cookies and butter, a luscious filling infused with cookie butter and sour cream for balance, and a signature topping of melted cookie butter and cookie crumbs, this cheesecake offers a perfect harmony of sweetness and tanginess. It’s an accessible yet sophisticated treat, ideal for holidays, celebrations, or any special occasion.
- Prep Time: 20 minutes
- Cook Time: 60 minutes
- Total Time: 6 hours
- Yield: 12 slices 1x
- Category: Desserts
- Method: Baking
- Cuisine: European-inspired
Ingredients
Crust
- 2 cups Biscoff cookies, crushed
- 6 tablespoons melted butter
Filling
- 3 (8 oz) packages cream cheese, softened
- 1 cup granulated sugar
- 1 cup Biscoff cookie butter
- 3 large eggs
- 1 teaspoon vanilla extract
- 1/2 cup sour cream
- 1/4 teaspoon salt
Topping
- Extra cookie crumbs
- Melted Biscoff cookie butter (for drizzling)
Instructions
- Preheat and prepare pan: Preheat your oven to 325°F (163°C). Line a springform pan with parchment paper to ensure easy removal of the cheesecake after baking.
- Make the crust: In a medium bowl, combine the crushed Biscoff cookies with the melted butter until evenly mixed. Press this mixture firmly into the bottom of the prepared springform pan, creating an even layer that will form the crust. Bake the crust for 8 minutes, then remove and let it cool.
- Prepare the cheesecake filling: In a large mixing bowl, beat the softened cream cheese with granulated sugar until the mixture is smooth and creamy. Add the Biscoff cookie butter and blend fully until well incorporated.
- Add eggs and flavorings: Beat in the eggs one at a time, ensuring each is fully mixed before adding the next. Then mix in the vanilla extract, sour cream, and salt to create a balanced, silky filling.
- Assemble and bake: Pour the cheesecake filling over the cooled crust, smoothing the surface evenly. Bake in the preheated oven for 50 to 60 minutes until the center is slightly jiggly but set, indicating a perfectly baked cheesecake.
- Cool gradually: Turn off the oven, crack the door open, and let the cheesecake cool inside for 1 hour. This gradual cooling helps prevent cracks.
- Chill: Refrigerate the cheesecake for at least 4 hours, preferably overnight, to allow the flavors to develop and the texture to set firmly.
- Add the finishing touch: Before serving, warm some Biscoff cookie butter to a drizzleable consistency and gently drizzle it over the top of the cheesecake. Sprinkle extra crushed Biscoff cookies for added texture and visual appeal.
Notes
- Use room-temperature cream cheese and eggs for the smoothest filling and to avoid lumps.
- Baking the crust before adding the filling ensures a crisp texture and prevents sogginess.
- Cooling the cheesecake gradually in the oven helps prevent cracks on the surface.
- Chilling overnight is best for optimal texture and flavor development.
- For a lighter version, substitute reduced-fat cream cheese and replace sour cream with Greek yogurt.
- To adapt for gluten-free diets, use gluten-free Biscoff-style cookies for the crust.
- For an elegant twist, try swirling in chocolate ganache or topping with caramel sauce or fresh fruit.
Keywords: Biscoff cheesecake, cookie butter cheesecake, Biscoff cookie butter dessert, creamy cheesecake, spiced cookie crust, no crack cheesecake, easy cheesecake recipe