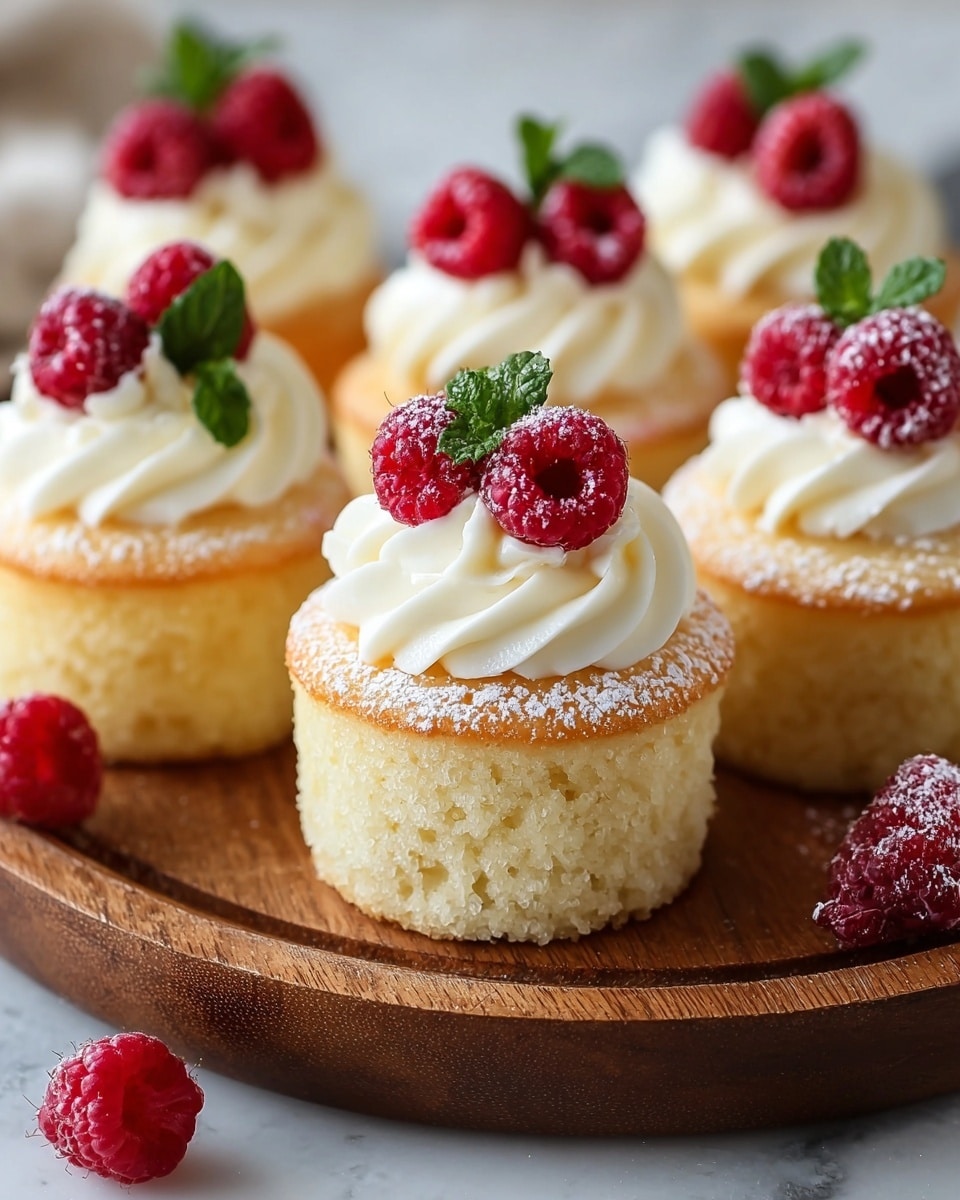
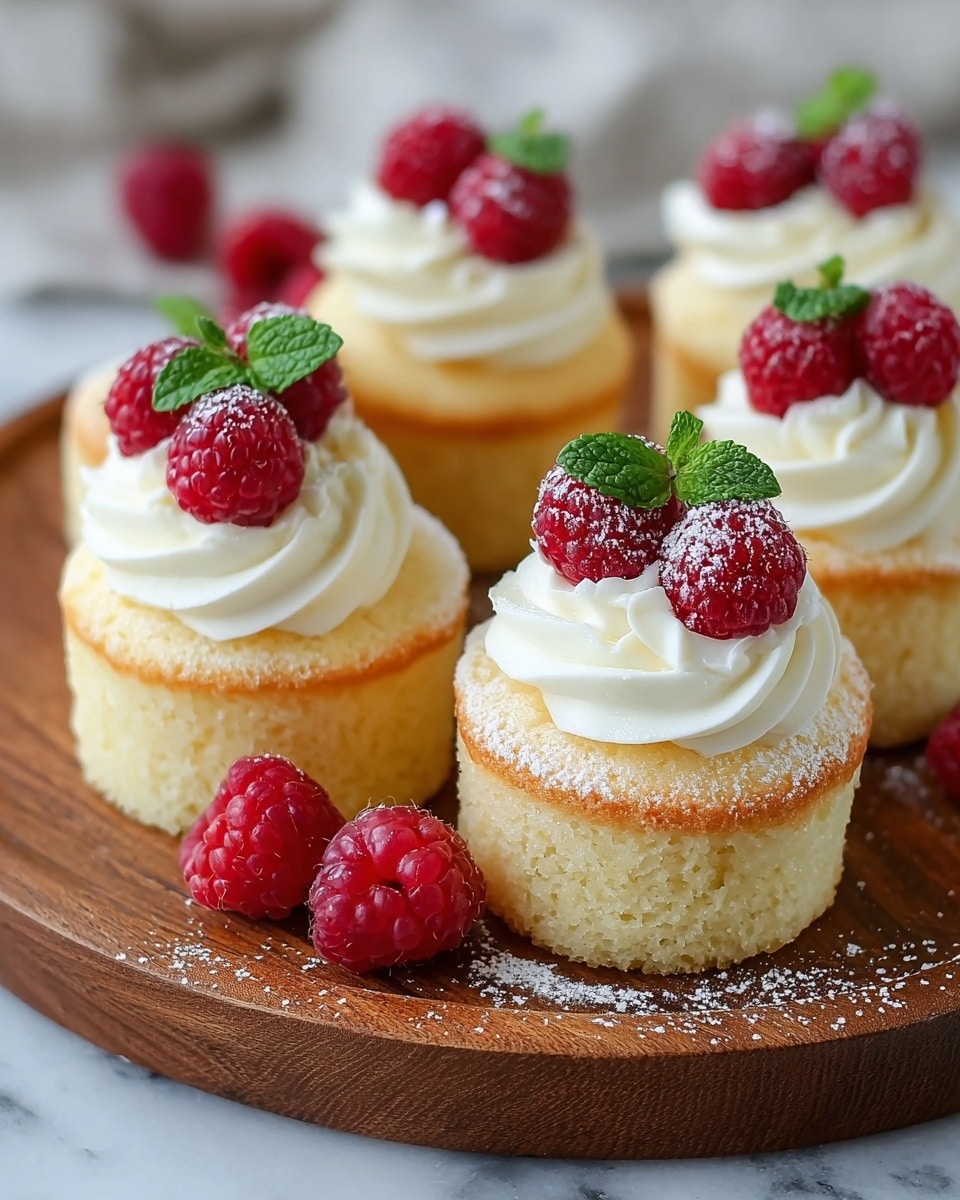
Fluffy Japanese Cotton Cheesecake Cupcakes Recipe
Introduction
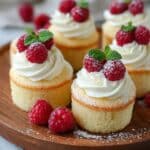
Fluffy Japanese Cotton Cheesecake Cupcakes are airy, light, and melt-in-your-mouth delicious. With a subtle sweetness and creamy texture, these cupcakes offer a delightful twist on classic cheesecake that’s perfect for any occasion.
Ingredients
- 8 oz cream cheese, full-fat
- 1 cup granulated sugar
- 0.5 cup milk (any type)
- 3 large eggs (separated)
- 1 tsp vanilla extract
- 1 cup all-purpose flour (can substitute gluten-free flour)
- 2 tbsp cornstarch
- 0.25 tsp salt
- 2 tbsp powdered sugar (for dusting)
Instructions
- Step 1: Preheat your oven to 320°F (160°C) and prepare a muffin tin with liners or parchment paper to ensure easy removal and even baking.
- Step 2: In a medium bowl, mix softened cream cheese and granulated sugar until smooth and creamy. Add milk, egg yolks, and vanilla extract, then mix until well combined.
- Step 3: Sift in the all-purpose flour and cornstarch, stirring gently until the batter is smooth and free of lumps.
- Step 4: In a separate clean bowl, whip the egg whites and salt until soft peaks form. Gradually add granulated sugar and continue whipping until stiff peaks are achieved.
- Step 5: Fold the whipped egg whites into the cream cheese batter in three additions, gently incorporating to maintain the airy texture.
- Step 6: Divide the batter evenly among the prepared cupcake liners, filling each about two-thirds full.
- Step 7: Bake for 30 minutes or until tops are lightly golden and centers gently jiggle but are set.
- Step 8: Let the cupcakes cool completely in the tin, then dust with powdered sugar before serving.
Tips & Variations
- Use room temperature cream cheese and eggs to blend the batter smoothly.
- Fold egg whites gently to keep the cupcakes light and fluffy.
- Add lemon or orange zest for a citrus twist.
- Incorporate fresh berries into the batter for added flavor and color.
- Try swapping vanilla extract with almond or coconut extract for new flavor profiles.
- For a chocolate version, add cocoa powder and reduce flour slightly.
- Consider a water bath during baking to maintain moisture and avoid cracks.
Storage
Store cupcakes in an airtight container in the refrigerator for up to 2 days to keep them fresh and fluffy. For longer storage, wrap each cupcake individually and freeze for up to 1 month. To reheat, warm in a preheated oven at 300°F (150°C) for 10–15 minutes to restore fluffiness.
How to Serve
Serve this delicious recipe with your favorite sides.
FAQs
What type of cream cheese should I use for the cupcakes?
Full-fat cream cheese is recommended for the richest flavor and best texture. Make sure it is softened to room temperature for easier mixing.
How should I store the Fluffy Japanese Cotton Cheesecake Cupcakes?
Keep them in an airtight container in the refrigerator for up to 2 days, or freeze individually wrapped cupcakes for up to 1 month. Reheat gently before serving.
Can I freeze these cupcakes?
Yes, they freeze well. Wrap each cupcake tightly in plastic wrap, place in a freezer bag, and freeze. Reheat in the oven when ready to enjoy.
What if my egg whites don’t whip properly?
Ensure your bowl and utensils are clean and free from grease. Avoid any yolk in the whites, and beat until stiff peaks form. Properly whipped egg whites are key to the cupcakes’ fluffy texture.
Are there any dietary considerations for these cupcakes?
You can substitute gluten-free flour to make them gluten-free, and use low-fat cream cheese for a lighter version, though texture may vary slightly. Always check ingredient labels for allergens.
What can I do if my cupcakes sink in the middle?
Avoid overmixing after folding in egg whites and don’t overfill liners. Make sure your oven is at the correct temperature and bake until cupcakes are set but still slightly jiggly in the center.
PrintFluffy Japanese Cotton Cheesecake Cupcakes Recipe
Enjoy a delightful treat with these Fluffy Japanese Cotton Cheesecake Cupcakes that melt in your mouth, combining sweet and tangy flavors with a light, airy texture perfect for any dessert occasion.
- Prep Time: 15 minutes
- Cook Time: 30 minutes
- Total Time: 1 hour 15 minutes
- Yield: 12 cupcakes 1x
- Category: DESSERTS
- Method: Baking
- Cuisine: Japanese
Ingredients
For the Batter
- 8 oz Cream Cheese (full-fat, softened)
- 1 cup Granulated Sugar (divided)
- 0.5 cup Milk (any type)
- 3 large Eggs, separated
- 1 tsp Vanilla Extract
- 1 cup All-Purpose Flour (can substitute gluten-free flour)
- 2 tbsp Cornstarch
- 0.25 tsp Salt
For Dusting
- 2 tbsp Powdered Sugar
Instructions
- Preheat Oven and Prepare Pan: Preheat your oven to 320°F (160°C) and line a muffin tin with liners or parchment paper for easy cupcake release and even baking.
- Mix Cream Cheese and Sugar: In a medium bowl, beat the softened cream cheese and granulated sugar until smooth and creamy, ensuring no lumps.
- Add Wet Ingredients: Incorporate the milk, egg yolks, and vanilla extract into the cream cheese mixture, stirring until well combined and silky.
- Sift Dry Ingredients: Sift together all-purpose flour and cornstarch, then gently fold them into the cream cheese mixture until smooth and free of lumps.
- Whip Egg Whites: In a separate clean bowl, beat the egg whites with salt until soft peaks form. Gradually add the remaining granulated sugar and continue whipping until stiff peaks develop, creating a light and fluffy meringue.
- Fold Egg Whites: Gently fold the whipped egg whites into the cream cheese batter in three additions, carefully mixing to preserve the airy texture essential for the cupcakes’ fluffiness.
- Fill Cupcake Liners: Divide the batter evenly among the liners, filling each about two-thirds full to allow room for rising.
- Bake: Bake the cupcakes in the preheated oven for 30 minutes, or until the tops are lightly golden and the centers have a slight jiggle, indicating perfect doneness.
- Cool and Finish: Allow the cupcakes to cool completely in the tin before gently dusting them with powdered sugar for a beautiful, sweet finish.
Notes
- Use room temperature ingredients for smoother blending and better batter consistency.
- Gently fold egg whites to avoid deflating the mixture, maintaining cupcake fluffiness.
- Check oven temperature with an oven thermometer for accurate baking results.
- A water bath can be used during baking for extra moist cupcakes and to prevent cracks.
- Store cupcakes in an airtight container in the fridge for up to 2 days or freeze individually wrapped for up to 1 month.
- Reheat frozen cupcakes in an oven at 300°F (150°C) for 10-15 minutes to restore fluffiness.
- Optional additions include fresh berries, whipped cream, or a chocolate or caramel drizzle for extra flavor.
Keywords: Japanese cheesecake, cotton cheesecake, fluffy cupcakes, Japanese dessert, cream cheese cupcakes, light dessert