Decadent Cheesecake in a Mug Recipe
Introduction
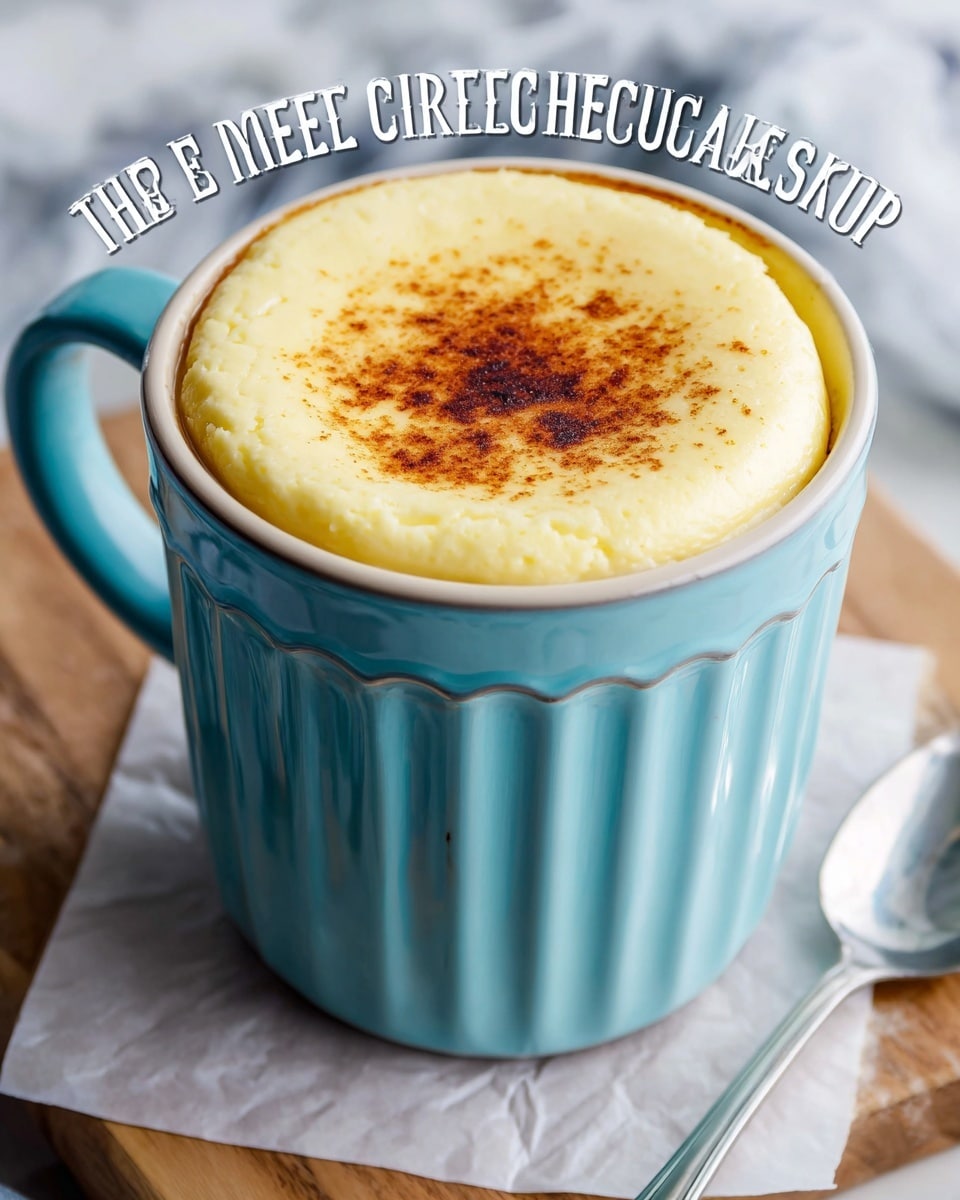
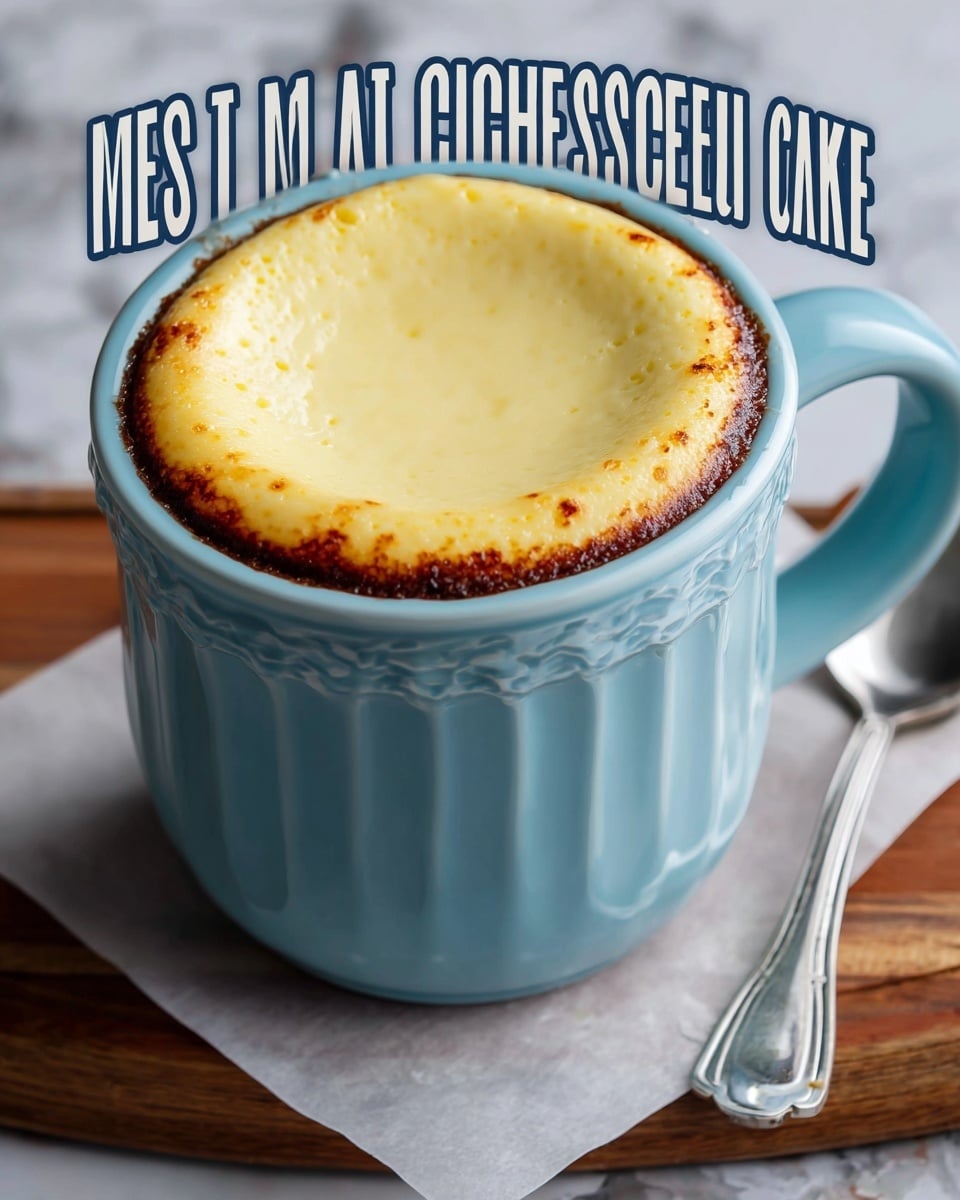
This decadent cheesecake in a mug is a perfect quick treat when you crave something creamy and sweet without the fuss of baking a whole cake. Ready in just minutes, it’s an individual dessert that feels indulgent yet simple to prepare.
Ingredients
- 2 oz cream cheese, softened
- 2 tablespoons sugar
- 1 teaspoon vanilla extract
- 1 tablespoon sour cream
- 1 tablespoon all-purpose flour
- 2 tablespoons crushed graham crackers
- 1 tablespoon melted butter
- 1 tablespoon fresh fruit or chocolate chips for topping (optional)
Instructions
- Step 1: In a small bowl, combine the crushed graham crackers with the melted butter. Press this mixture firmly into the bottom of a microwave-safe mug to form the crust.
- Step 2: In another bowl, beat the softened cream cheese with sugar and vanilla extract until smooth. Then add sour cream and flour, mixing until fully combined.
- Step 3: Pour the cheesecake filling over the graham cracker crust in the mug. Use a spatula to smooth the surface evenly.
- Step 4: Microwave the mug for 30 to 40 seconds, or until the cheesecake is just set but still soft. Avoid overcooking to keep a creamy texture.
- Step 5: Let the cheesecake cool for a few minutes. Top with fresh fruit or chocolate chips if desired, then enjoy your quick and delicious mug dessert.
Tips & Variations
- Use flavored crushed cookies like chocolate or cinnamon for a twist on the crust.
- Swap sour cream with Greek yogurt for a tangier cheesecake and added protein.
- Add a pinch of cinnamon or lemon zest to the filling for extra flavor.
- Serve with a drizzle of honey or caramel sauce for a sweet finish.
Storage
Store any leftover cheesecake covered in the mug or in an airtight container in the refrigerator for up to 2 days. Reheat gently in the microwave for 10–15 seconds if desired, but it’s also tasty served chilled.
How to Serve
Serve this delicious recipe with your favorite sides.
FAQs
Can I make this cheesecake in a regular oven instead of a microwave?
Yes, you can bake it in a small oven-safe ramekin at 325°F (165°C) for about 12–15 minutes until just set.
Is it possible to make this recipe dairy-free?
Absolutely—use dairy-free cream cheese, sour cream alternatives, and vegan butter to make a delicious dairy-free mug cheesecake.
PrintDecadent Cheesecake in a Mug Recipe
This Decadent Cheesecake in a Mug recipe is a quick and easy dessert perfect for satisfying your sweet tooth in just minutes. With a buttery graham cracker crust and a creamy, rich cheesecake filling, this single-serving treat is cooked in the microwave, making it an ideal indulgence for busy days or whenever you want a delicious, comforting dessert without the hassle of baking a full cheesecake.
- Prep Time: 5 minutes
- Cook Time: 1 minute
- Total Time: 6 minutes
- Yield: 1 serving 1x
- Category: Desserts
- Method: Microwaving
- Cuisine: American
Ingredients
Crust
- 2 tablespoons crushed graham crackers
- 1 tablespoon melted butter
Cheesecake Filling
- 2 oz cream cheese, softened
- 2 tablespoons sugar
- 1 teaspoon vanilla extract
- 1 tablespoon sour cream
- 1 tablespoon all-purpose flour
Topping (Optional)
- 1 tablespoon fresh fruit or chocolate chips
Instructions
- Prepare the Crust: In a small bowl, mix the crushed graham crackers with the melted butter until the mixture is well combined. Press this mixture firmly into the bottom of a microwave-safe mug to form the crust layer.
- Make the Cheesecake Filling: In another bowl, beat the softened cream cheese with sugar and vanilla extract until smooth and creamy. Then, add sour cream and all-purpose flour, mixing thoroughly until the filling is well combined with no lumps.
- Assemble: Pour the cheesecake filling over the graham cracker crust in the mug. Use a spatula or the back of a spoon to smooth the top evenly.
- Microwave: Place the mug in the microwave and heat for 30-40 seconds, or until the cheesecake is just set but still creamy. Be careful not to overcook to avoid cracking or drying out the cheesecake.
- Cool and Serve: Allow the mug cheesecake to cool for a few minutes to room temperature. Once cooled, top with fresh fruit or chocolate chips if desired. Enjoy your warm, decadent mug dessert immediately.
Notes
- Microwave ovens vary, so start with 30 seconds and increase the time in 5-second increments if needed to avoid overcooking.
- Use full-fat cream cheese for the best texture and flavor.
- Press the graham cracker crust firmly into the mug to prevent it from mixing with the filling.
- Serve immediately for best texture; reheating later is not recommended as it may alter the cheesecake’s creaminess.
- Optional toppings can include berries, chocolate chips, or a drizzle of caramel or chocolate sauce.
Keywords: cheesecake mug recipe, quick cheesecake, microwave dessert, single serving cheesecake, easy dessert, graham cracker crust, creamy cheesecake, decadent mug dessert